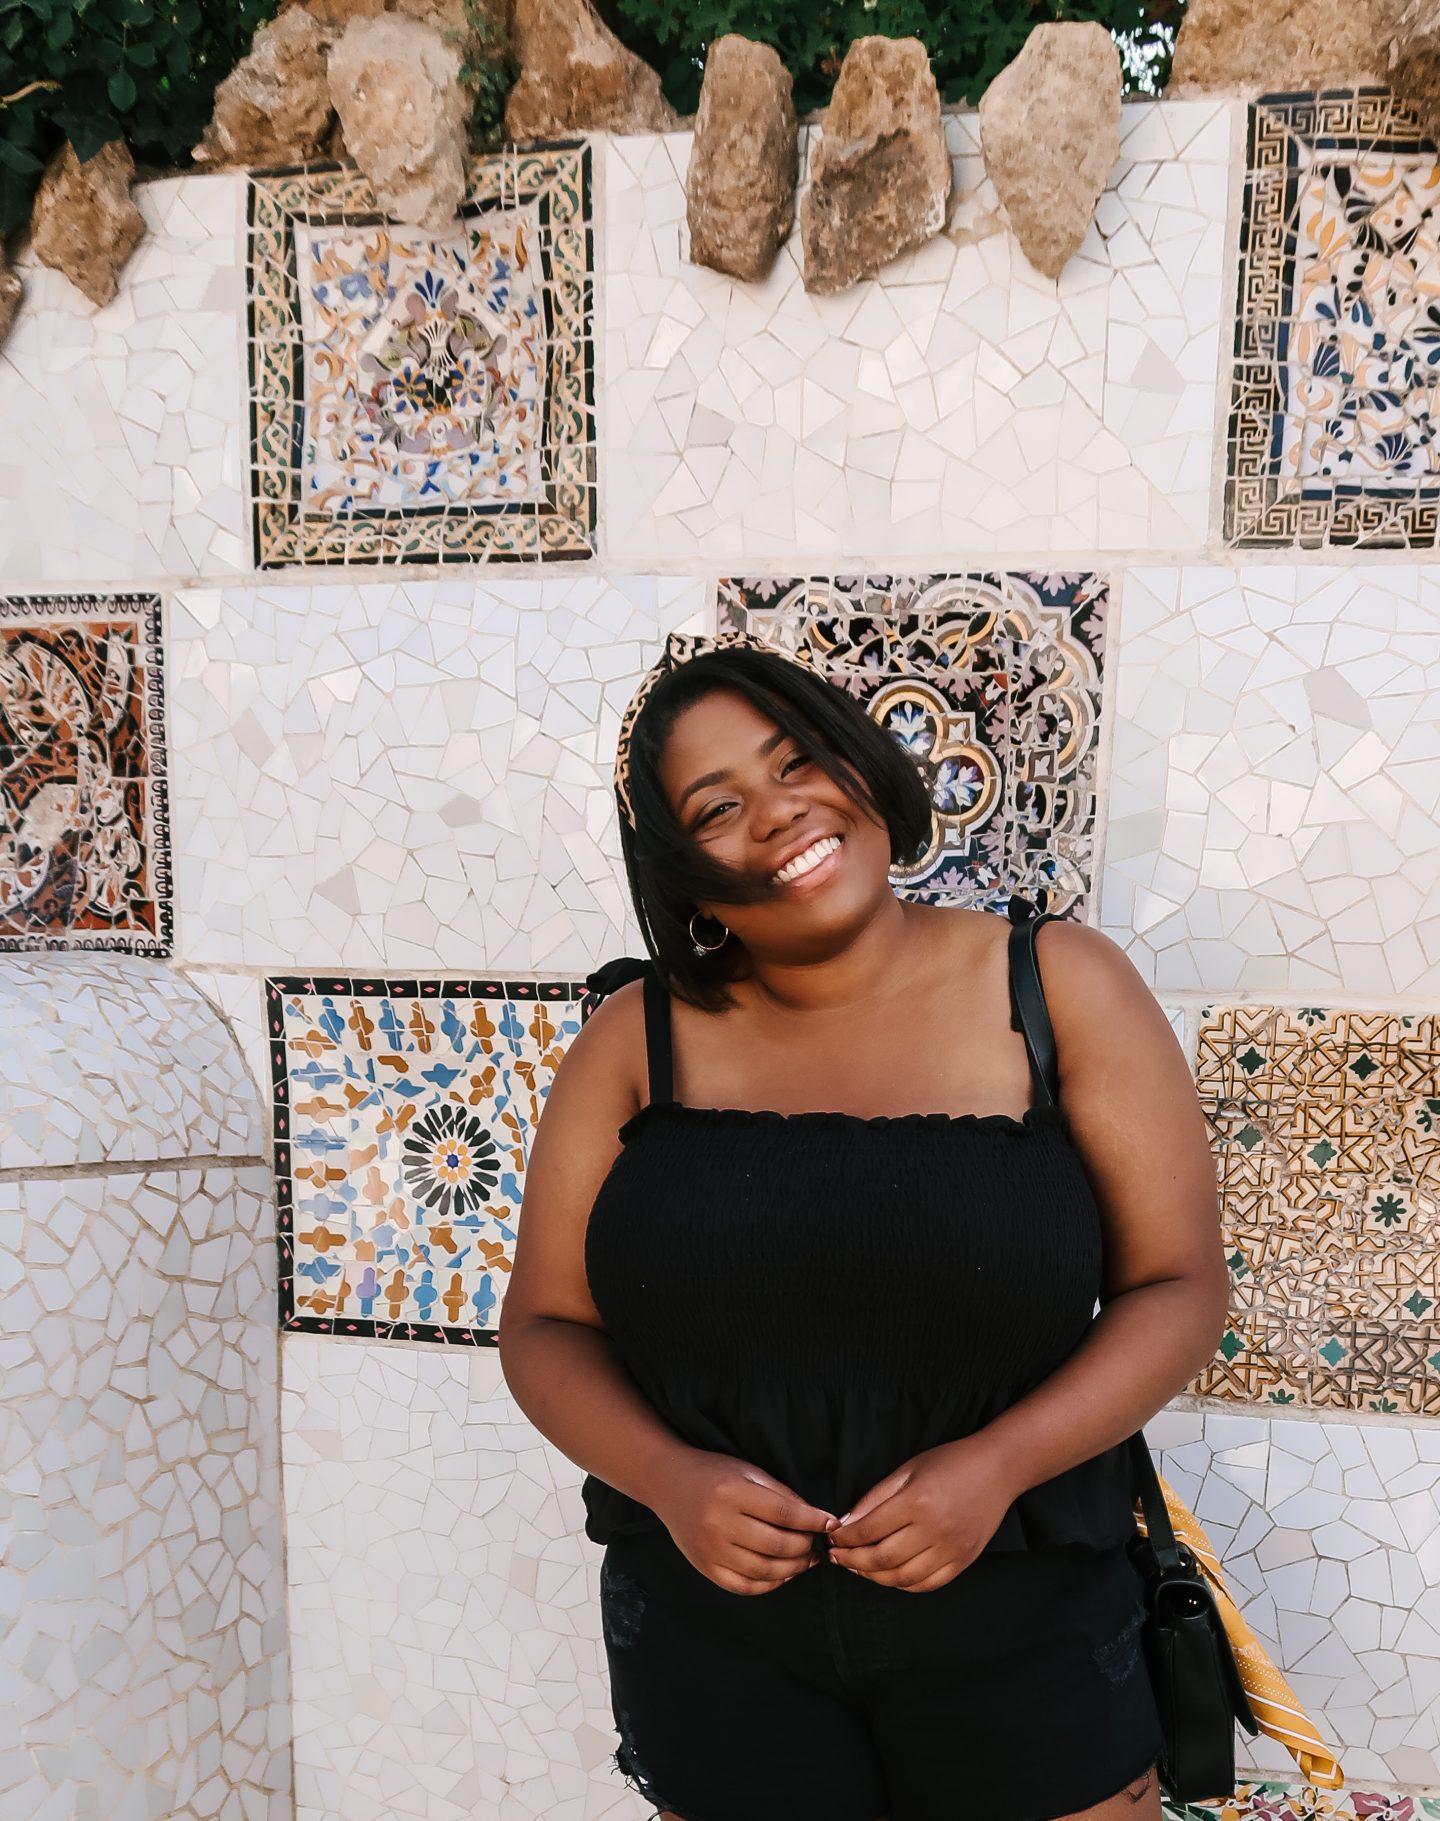
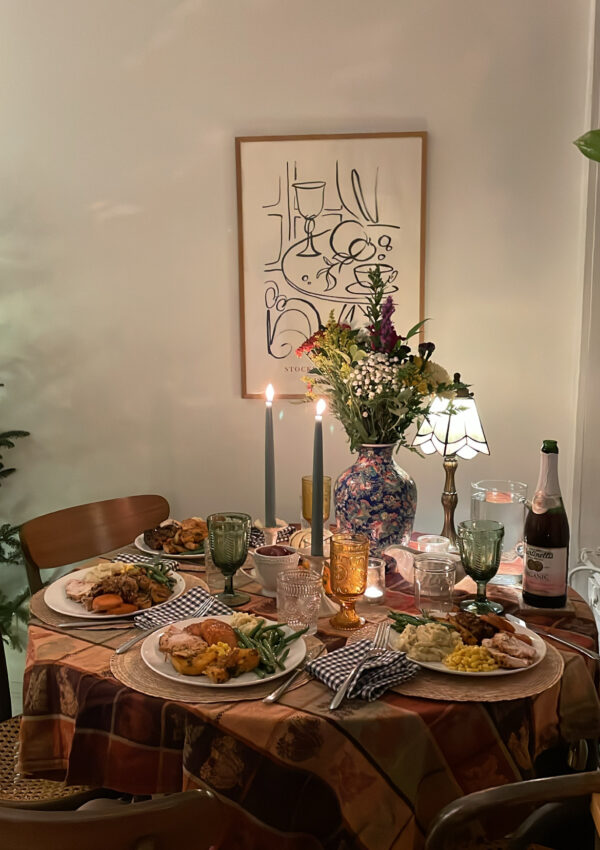
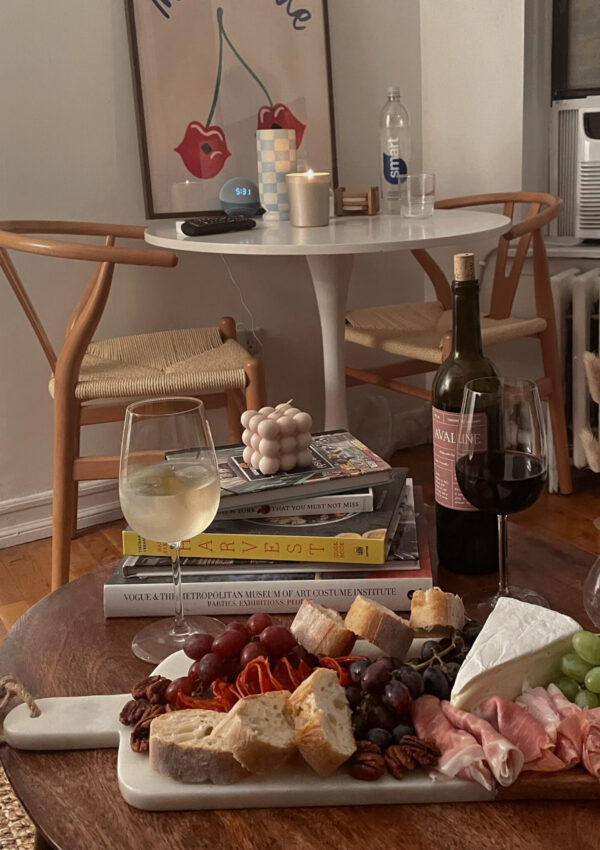
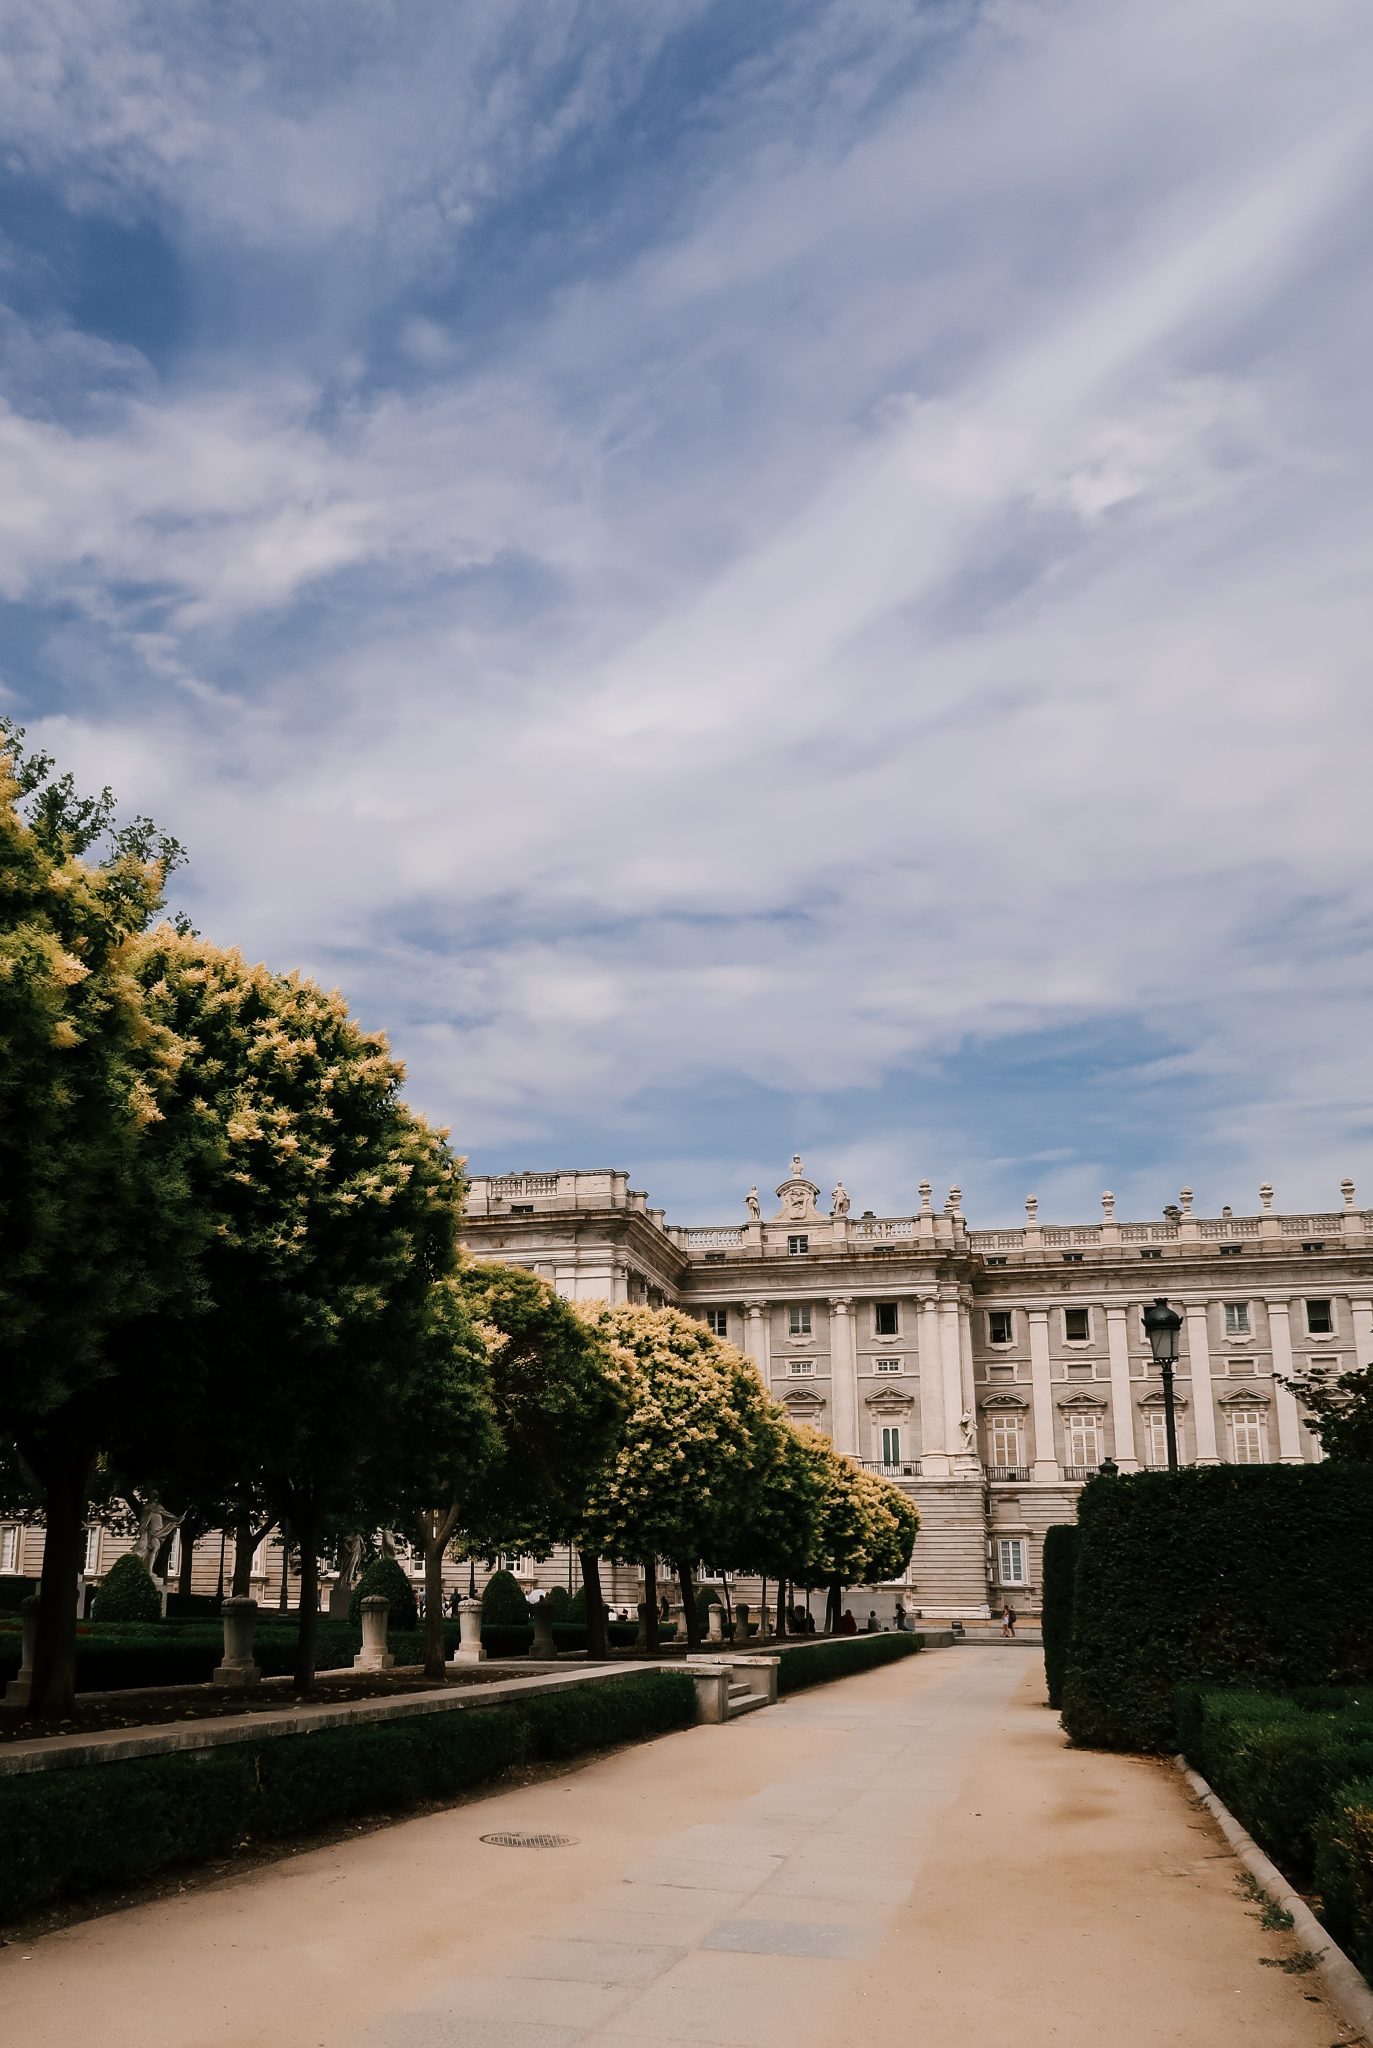
Before & after editing collages are some of my favorite content produced by photographers. When I first started getting interested in photography, I always thought that photographers were able to capture what I saw on blogs and Instagram simply out of the camera. BOY, I was wrong. Even for images that look unedited and natural, you can use Lightroom, VSCO, A Color Story, etc. to give your images a little oomph. I’ve played around a lot in Lightroom trying to find what my style was and I finally figured it out early last fall.
Today’s blog post is all about my editing workflow from start to finish without presets. Now, of course, I can have up to 4-5 portrait sessions and blogging photo sets at any given moment. It makes editing and my workflow so much faster when I can just click on one of my many presets. As a special treat, I created 4 natural and versatile presets that you can upload into Lightroom: two in color and two in black and white! All you have to do is sign up for our newsletter {completely free, and we only email updates once every blue moon} and if you already have access to our Resource Library then all you need to do is download them from there!
Let’s get into it! If anything is unclear throughout this post, please let me know! I’ll be doing a whole video on creating Instagram content for your blog and social media on Youtube very soon. So, be on the lookout for that too!
Step 1: Save all your images on an external hard drive.
I’ve already mentioned how important it is to make sure that you have all your images backed up. I keep mine on this external hard drive that is specifically formatted for Mac devices. I think it’s pretty cute because it has a G on it, too! This bad boy has 1 TB of space which is plenty. I have over 3,000 RAW files from my Nikon D5500 and that takes up around 250 GB of space. 75% of my external hard drive is available!
I then import every single photo from a set into Lightroom. {File> Import Photos & Video> Import All} I don’t try and flip through the images here because the thumbnails are way too tiny and what may seem like a great photo may be a horrendous photo and what may seem like a terrible shot could actually be your favorite of the bunch. Download them all! You’ll thank me later.
Step 2: Filter through all of your images.
Here’s where most of my time can go when I’m editing in real time. I check to make sure the subject is in focus and that hairs are all in place and bra straps aren’t showing {although I can fix this later if necessary}. This is also where I try to delete similar shots and try to only keep the best images. For a blog post, I try to stick with 8-10 varied images. For clients, I need about 25-30 images and will scale down my photo set accordingly.
If you can get the number of photos down to a manageable number, you’ll feel less rushed during the fun phase and can make some super clean, quality edits. My editing skills get super sloppy when I get tired and this step has seriously cut down on wasted editing time.
Step 3: Figure out what style you want to adopt for the photos and use any appropriate presets that you have in your toolbox.
I personally make all of my own presets. It took me 2 or 3 months to finally nail down what I wanted my editing style to be and how I wanted my photos to look. A bright and clean image is ideal, but I’m not super into bright colors. I can appreciate a rich, creamy color in a photo though and I can achieve this by prioritizing three main characteristics in all of my presets: increased exposure, matte texture, and enhanced shadows.
Next, I’ll be showing my editing workflow. You can check out more about specific tools here. Note: I severely overused the luminance tool a year ago. Please don’t make these same mistakes. Opt instead for reducing clarity and using luminance tools sparingly. You want to keep these photos looking as unedited as possible. That’s the key!
Also, make sure to crop and straighten your images before applying edits.
Step 4: Apply your edits.
Select a preset of your choice or follow these steps!
0. Set up your lens profile corrections by choosing your body and lens.
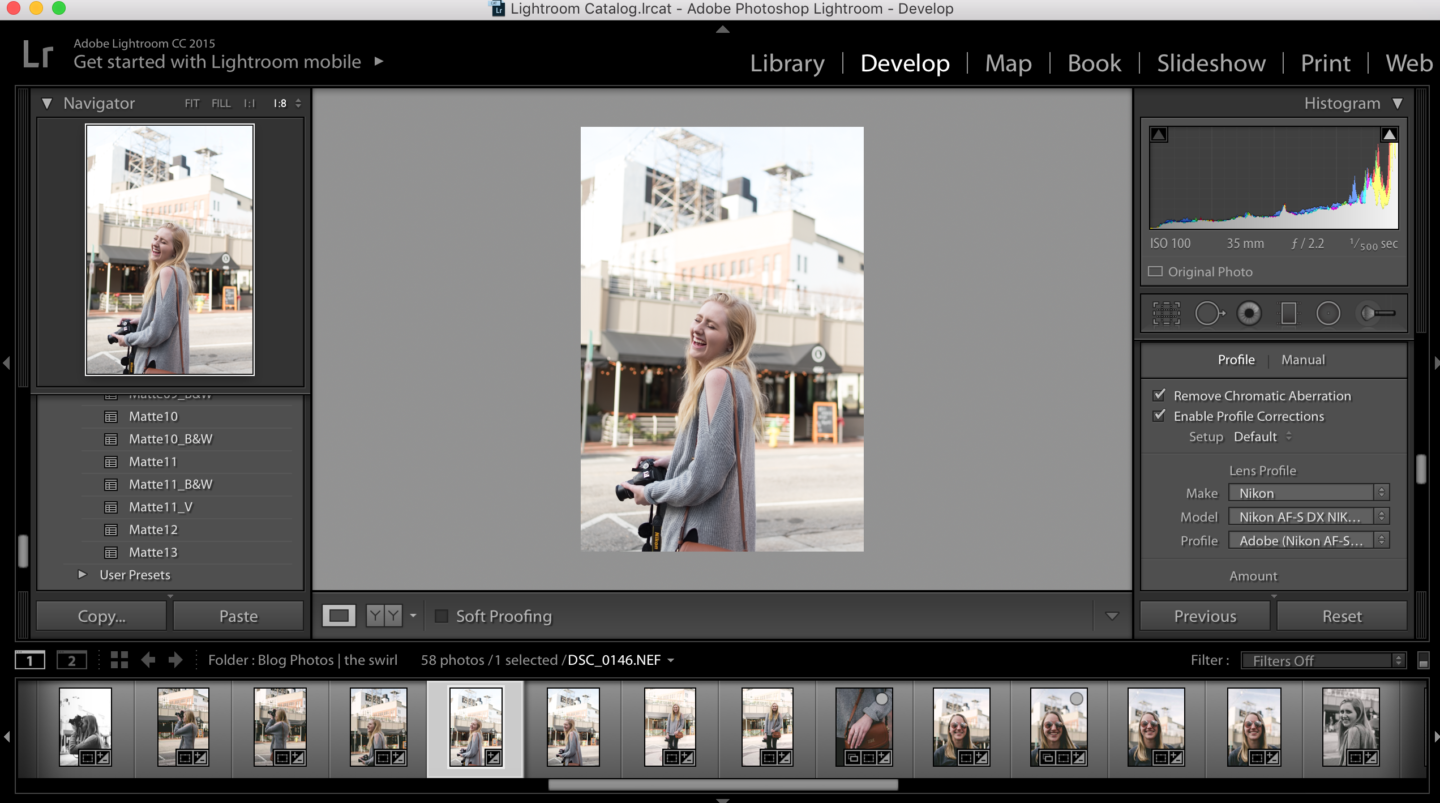
1. Keep white balance settings “As Shot.” Note: I shoot all of my images a little overexposed if I can!
2. Lighten the entire image by increasing exposure +0.15. Add some vibrancy to the image by increasing the contrast +6.
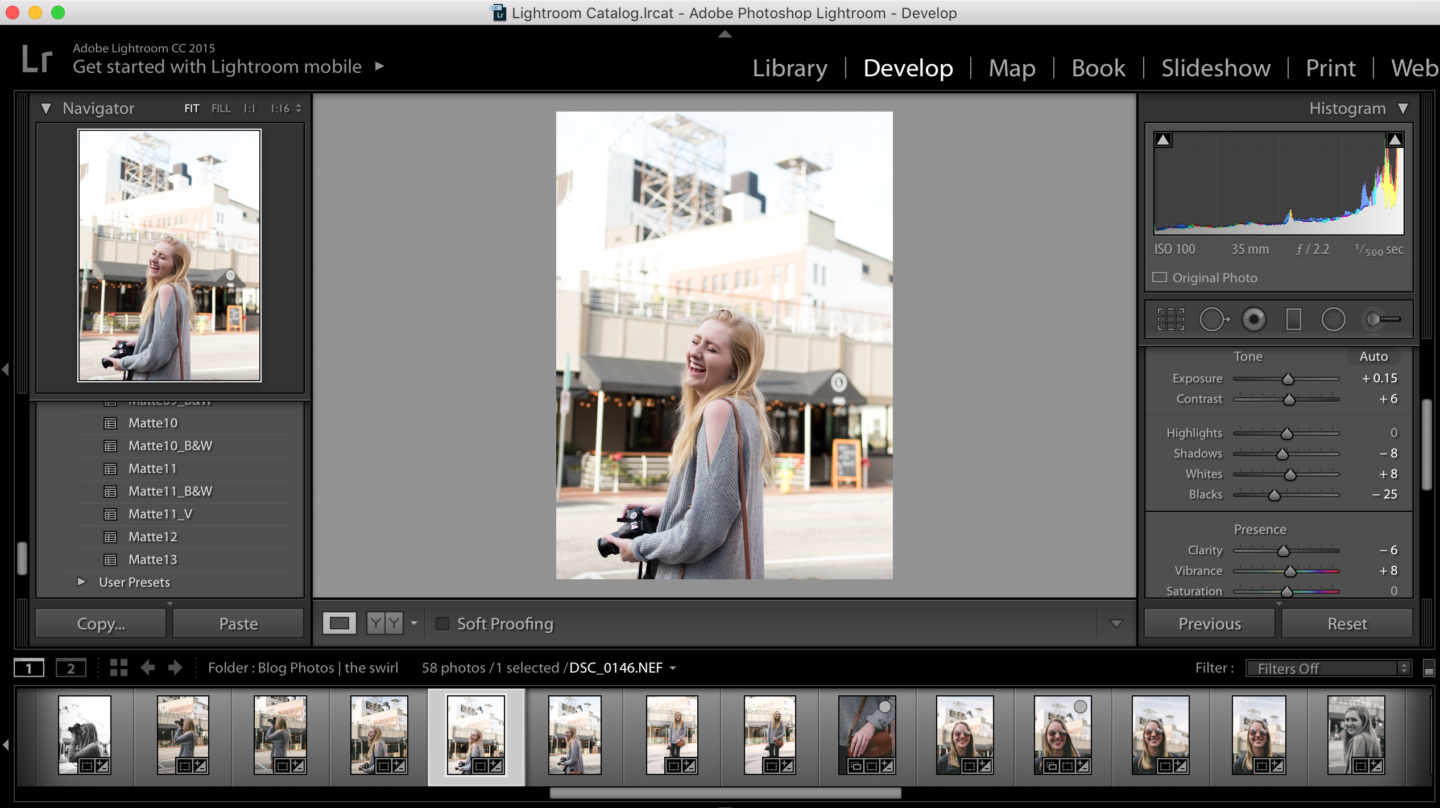
3. I personally like to add more shadow/increase blacks to really get that rich color. Regain color from lightening by increasing Highlights to +0.15 and decreasing blacks to -25.
4. Create a creamy texture for the photo by decreasing clarity to -6 and adding some vibrancy (+8).
5. Give some texture by increasing grain or adding the “matte” factor. You can do this by adding a point towards the bottom of the tone curve. Drag to create a straight line. Move around until the desired filter is achieved!
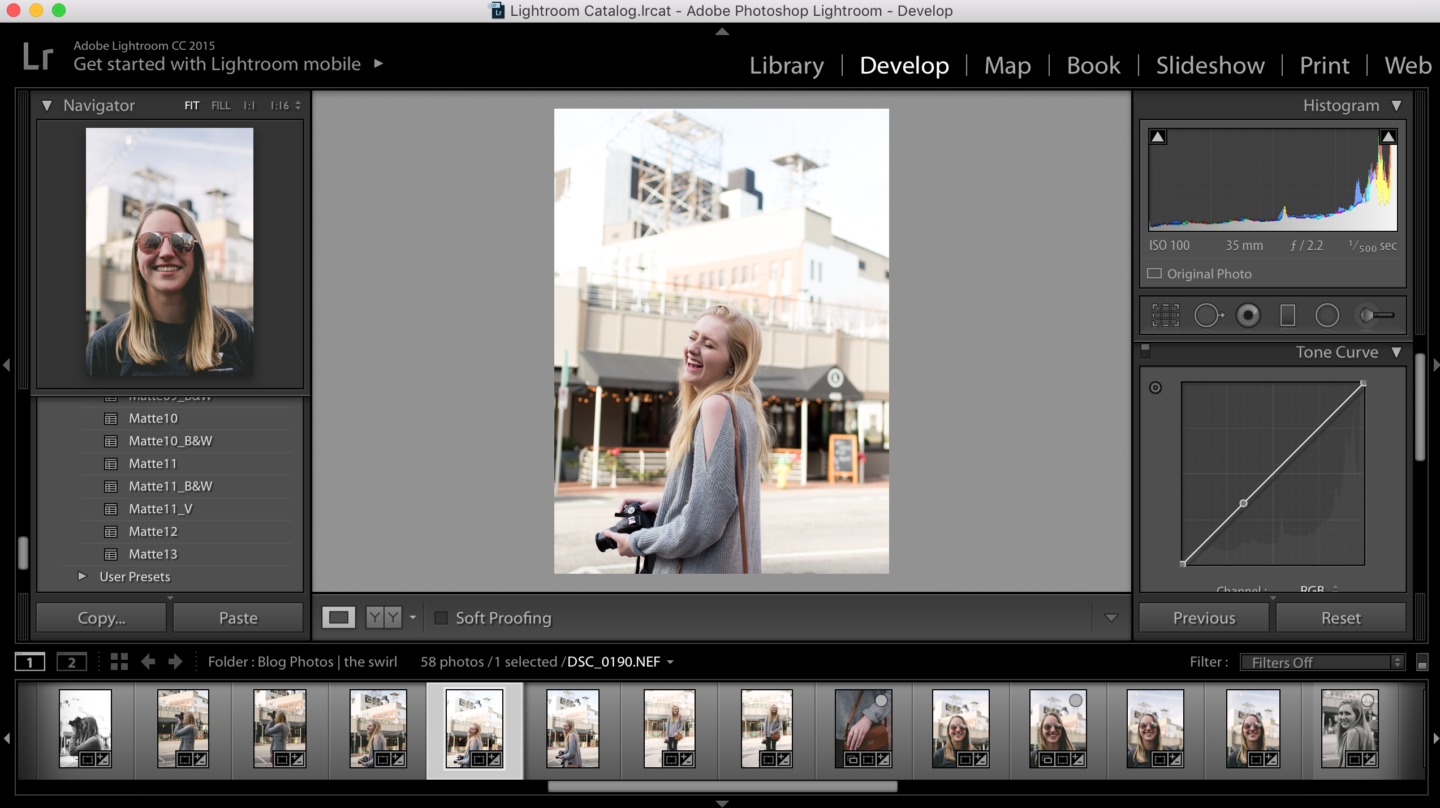
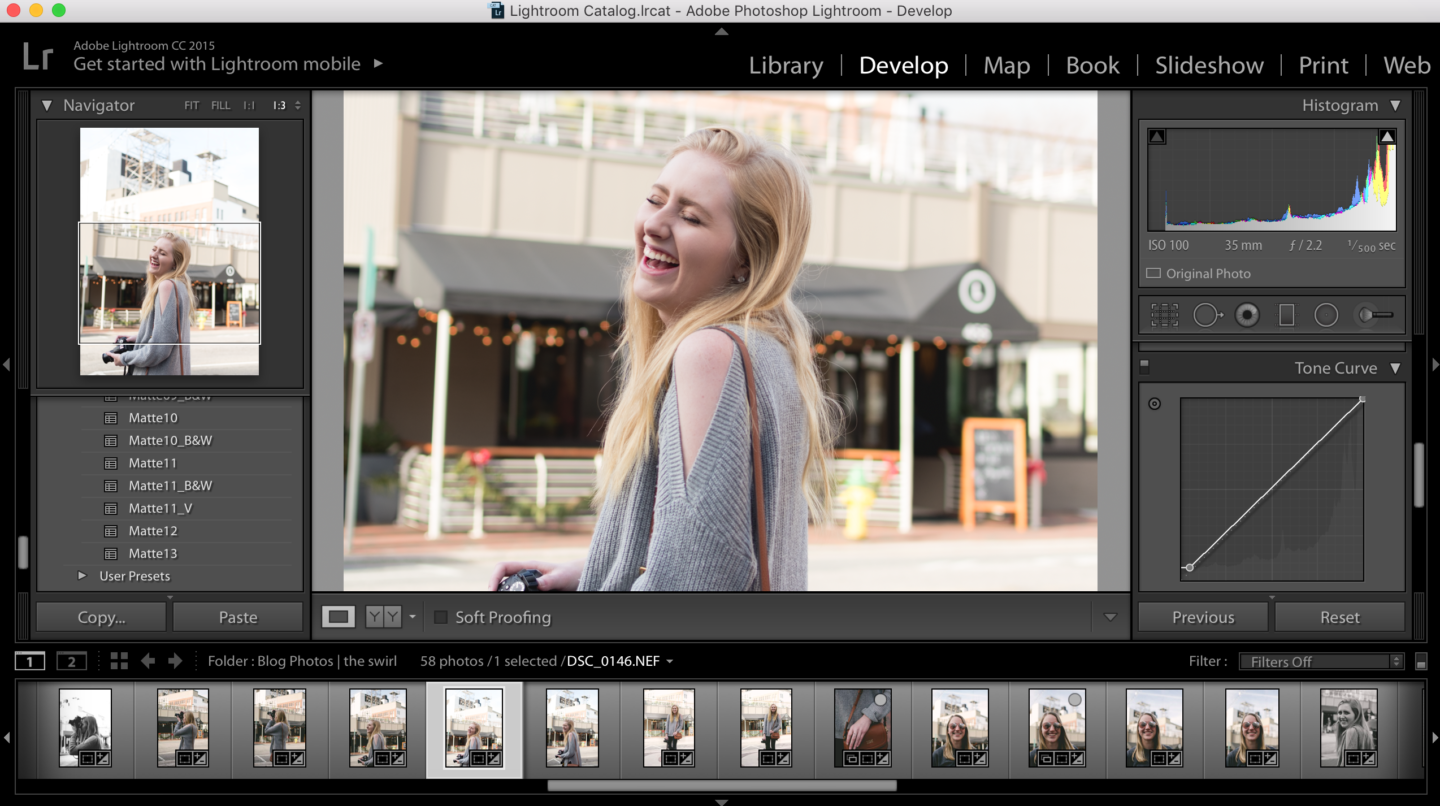
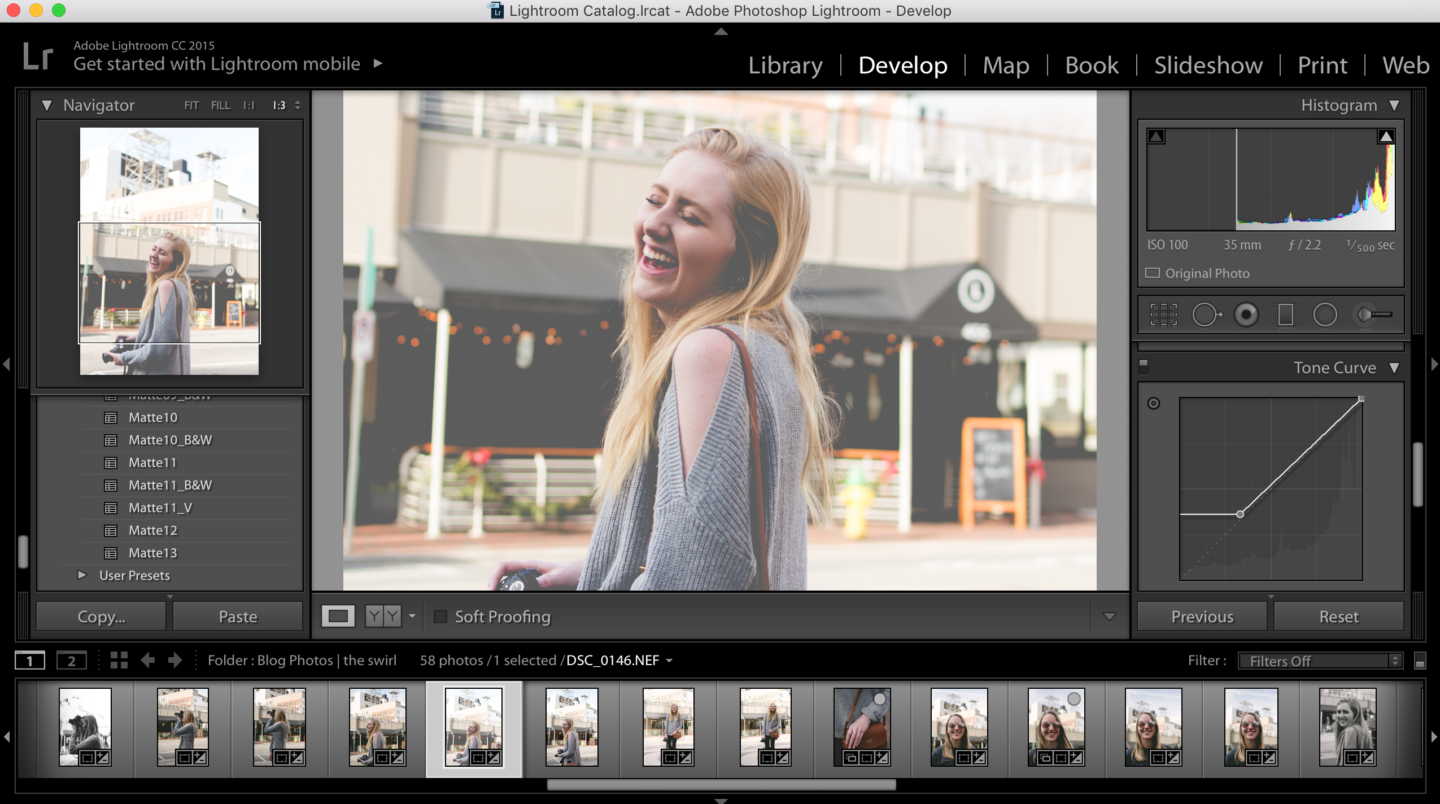
6. Optional: Add grain. I like to give urban pictures some “grit” by adding this effect.
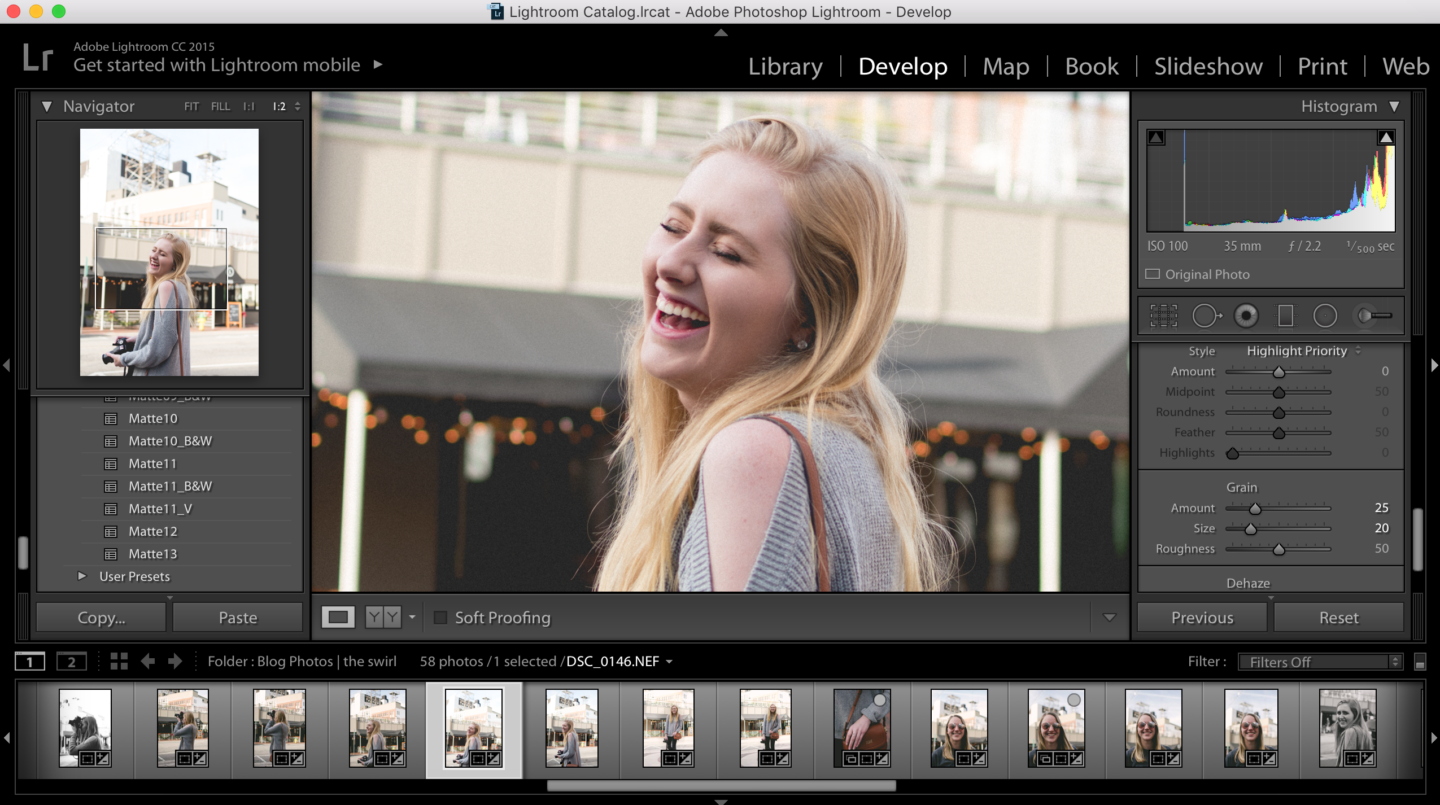
This is Preset 1 in the resource library! You can see how to save presets by checking out this post.
Step 5: Perform any necessary local corrections.
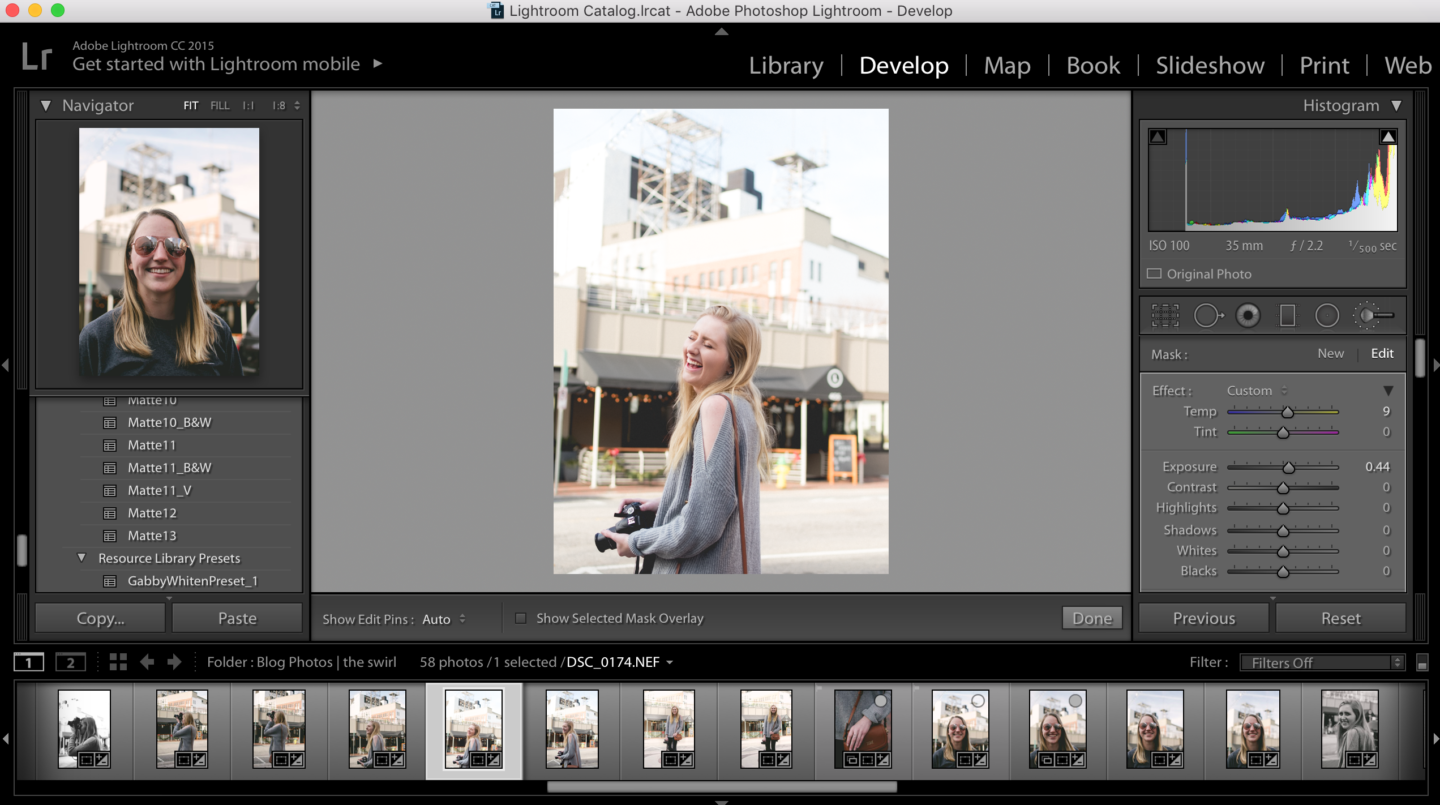
This can be fun or annoying. But remember, less is more. Repeat that to yourself over and over again. My go-to touch-ups are blemish corrections and lightening up the skin. This is pretty much all I do. If there is something that I don’t like in the background, I’ll also use the clone tool to get rid of it.
In this photo, I focused on the face and shoulder as they are central to the image! I brightened them a tad (+.44) using the brush tool and increased the temperature to add warmth. Lastly, I decreased clarity to smoothen the skin.
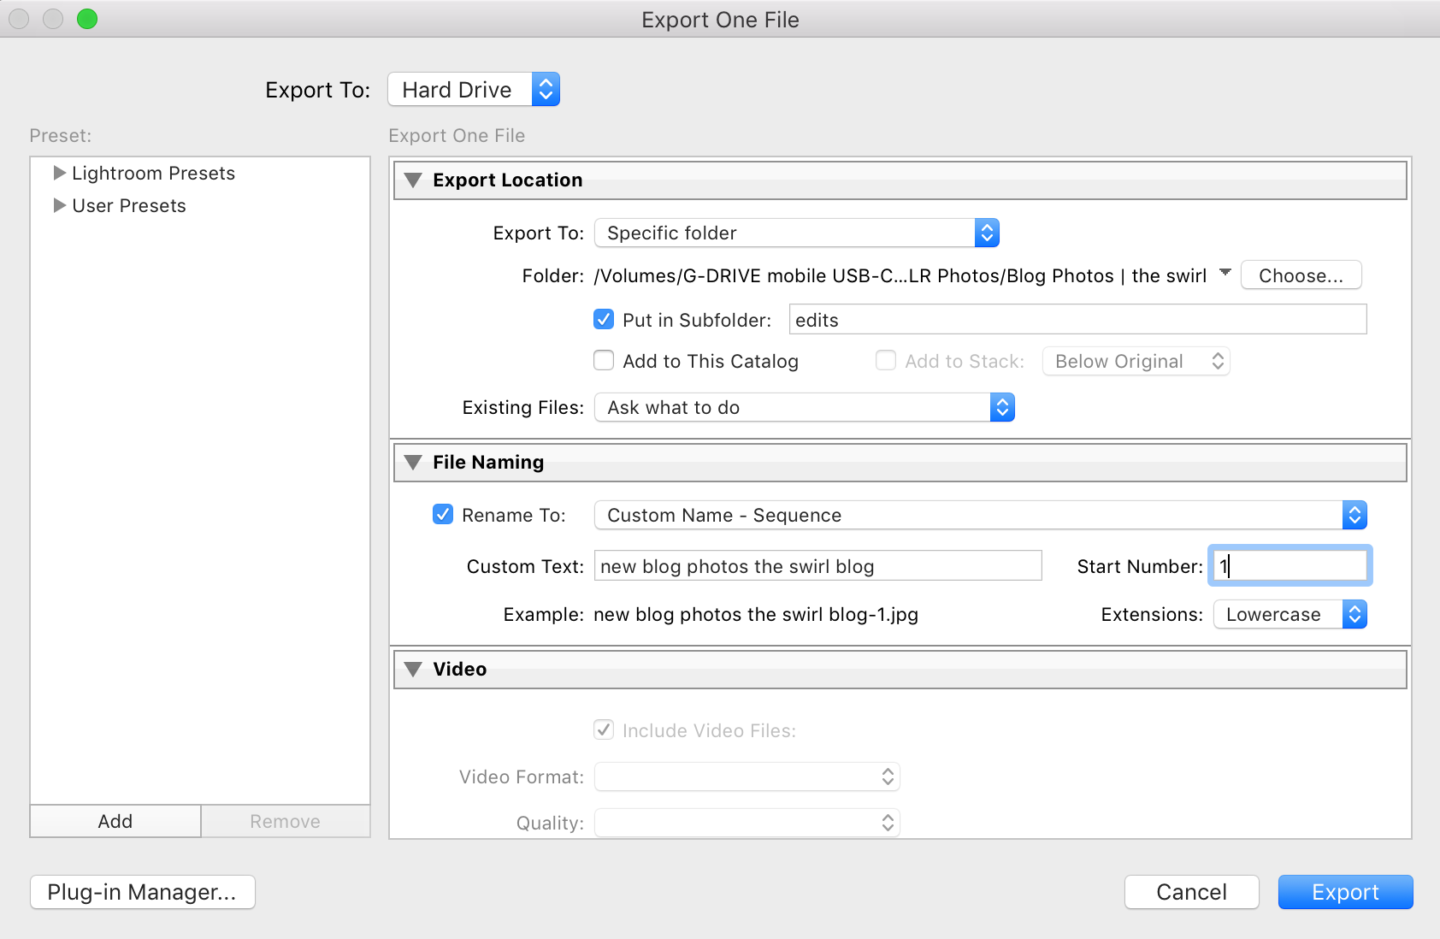
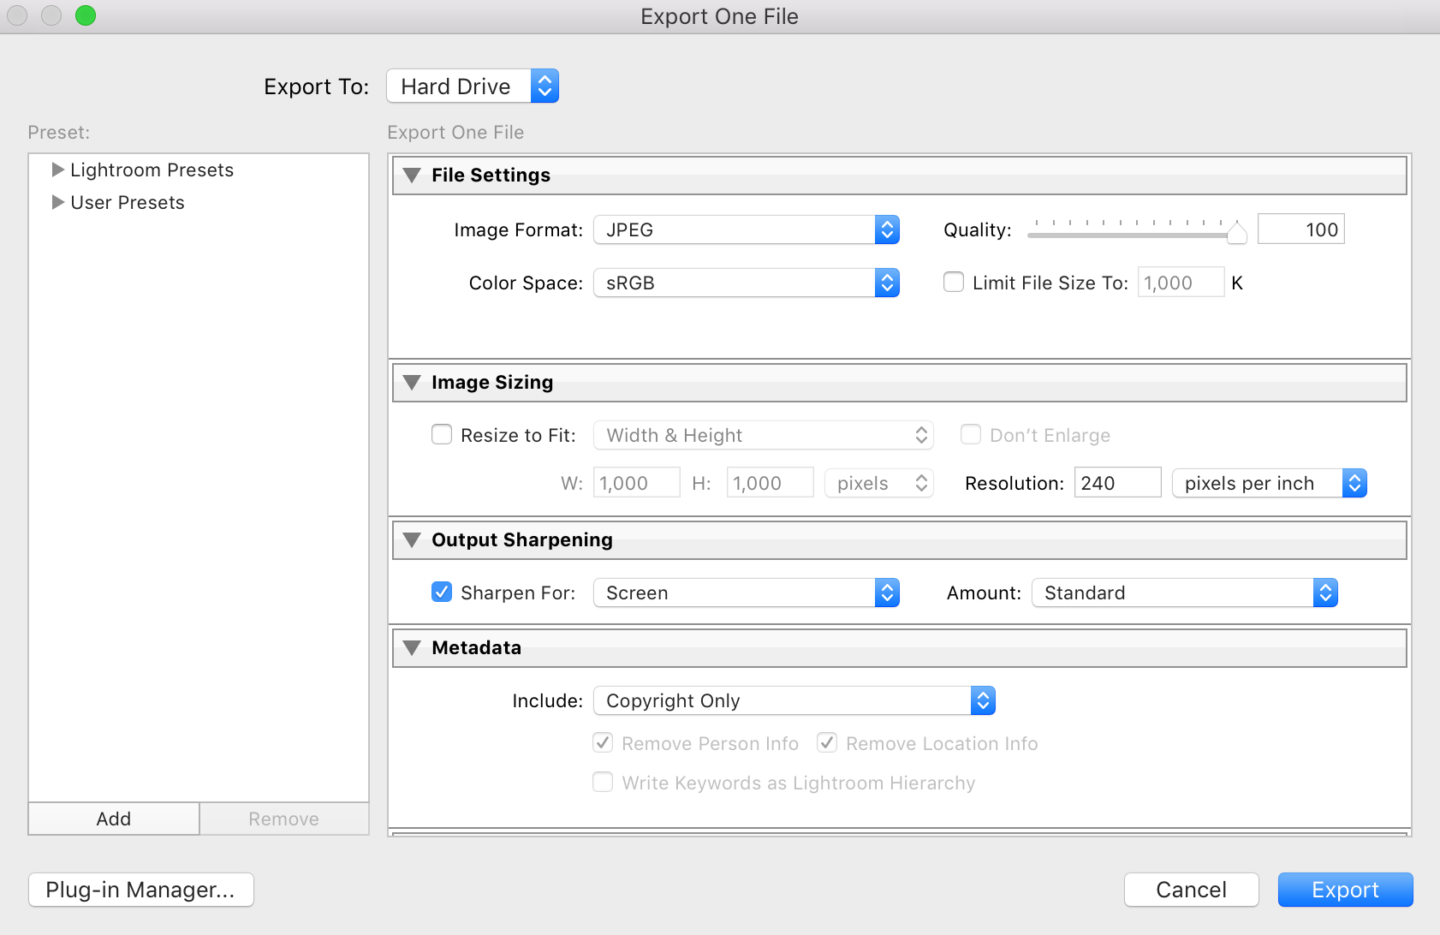
Step 6: Export your photos.
File > Export
I create a new folder entitled “edits” whenever I’m exporting edited photos. I also select the custom name sequence option for naming the new files. If they are going on the blog, I make sure to include keywords to help with SEO. These keywords can be your actual post keyword, important keywords in the title, your name, or the name of your blog.
Hit export!
Step 7: Resize Images and Upload to Website.
I use the website Bulk Resize Photos {Thanks, Lauren!}. For images coming from my DSLR, I reduce the size by up to 50%, which really increases our site speed. Then, upload your resized photos to your blog or personal website and you’ll have some amazing photos!
Before
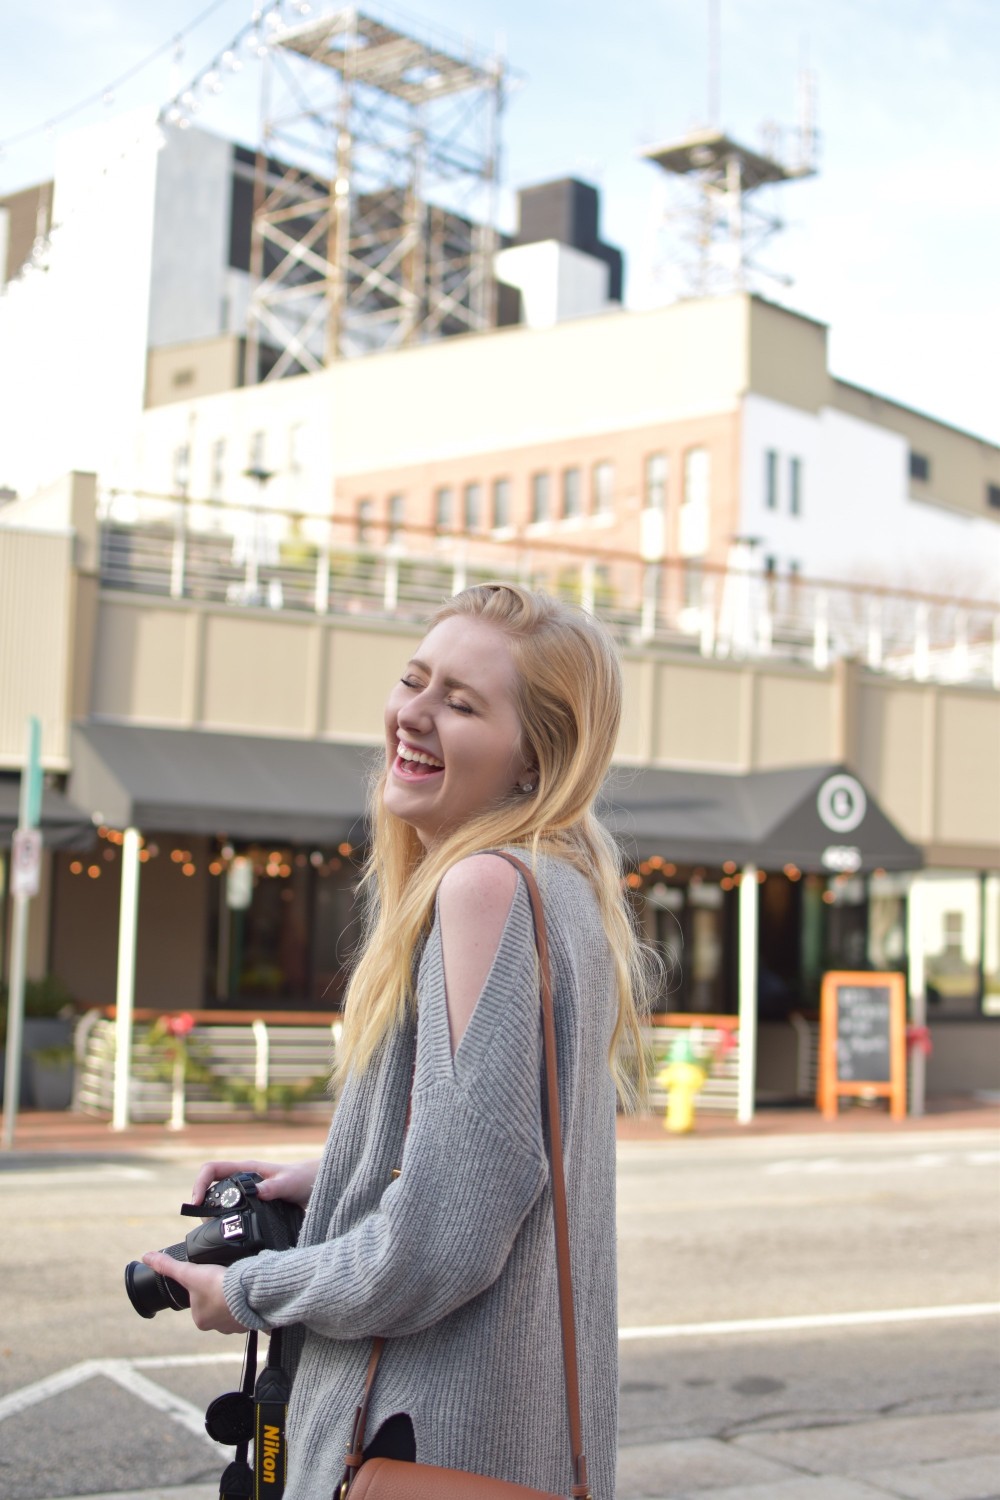 After
After
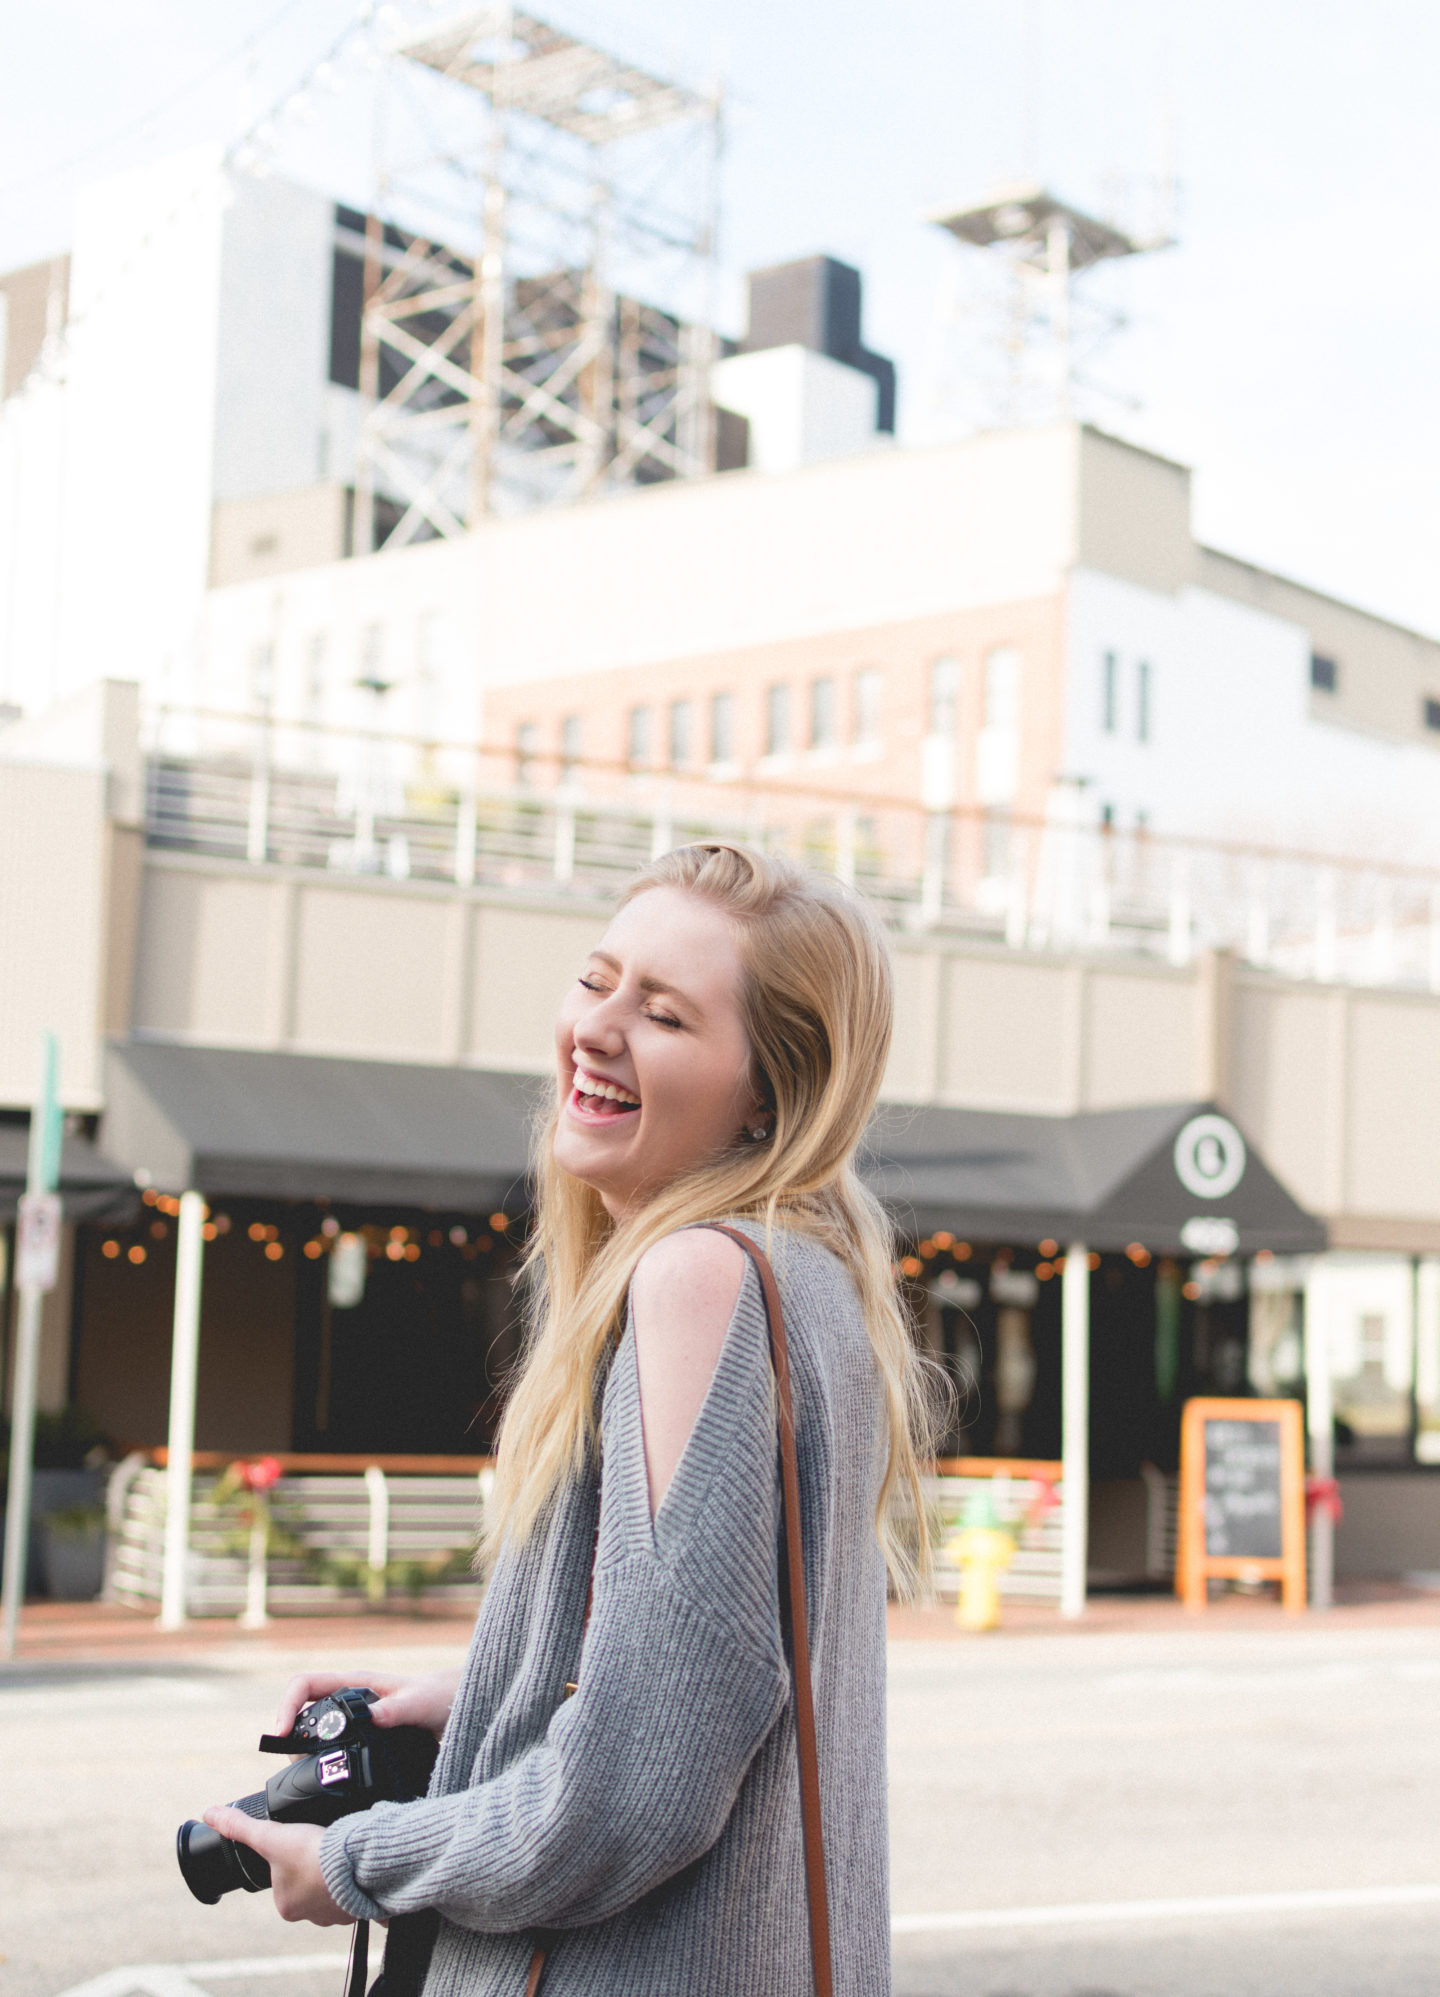
Gabby Whiten Presets
Luckily for you, I’ve compiled my favorite editing techniques into FOUR presets. I’ve created these simple and natural filters for all of your images. You can use them on iPhone photos for Instagram or DSLR photos for your blog. It’s all up to you! The catch is: my presets are only available to the #SwirlSocial newsletter subscribers. Don’t worry… there’s a link at the end of the post down below. You’ll get an instant password to our Free Resource Library and keys to my preset kingdom!
Be sure to tag all your photos edited with my preset with #swirlsocialpresets! I’d love to see how you make the presets your own too! Happy editing! If something is going wrong, just give us an email and we can work it out for you: hello@theswirlblog.com.
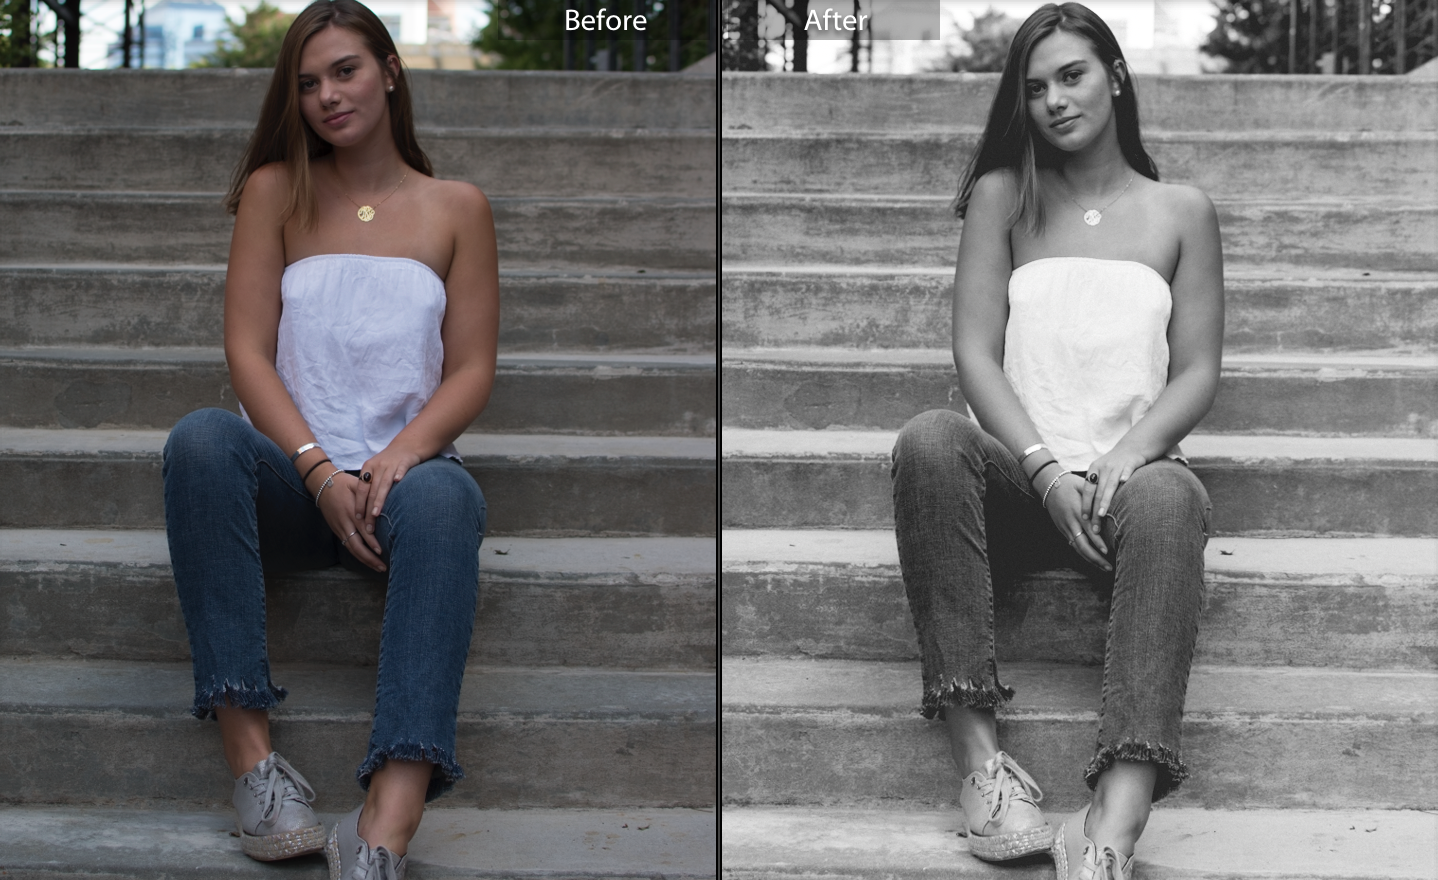
Here are some examples of how my presets work with some of my old images!
Preset 1
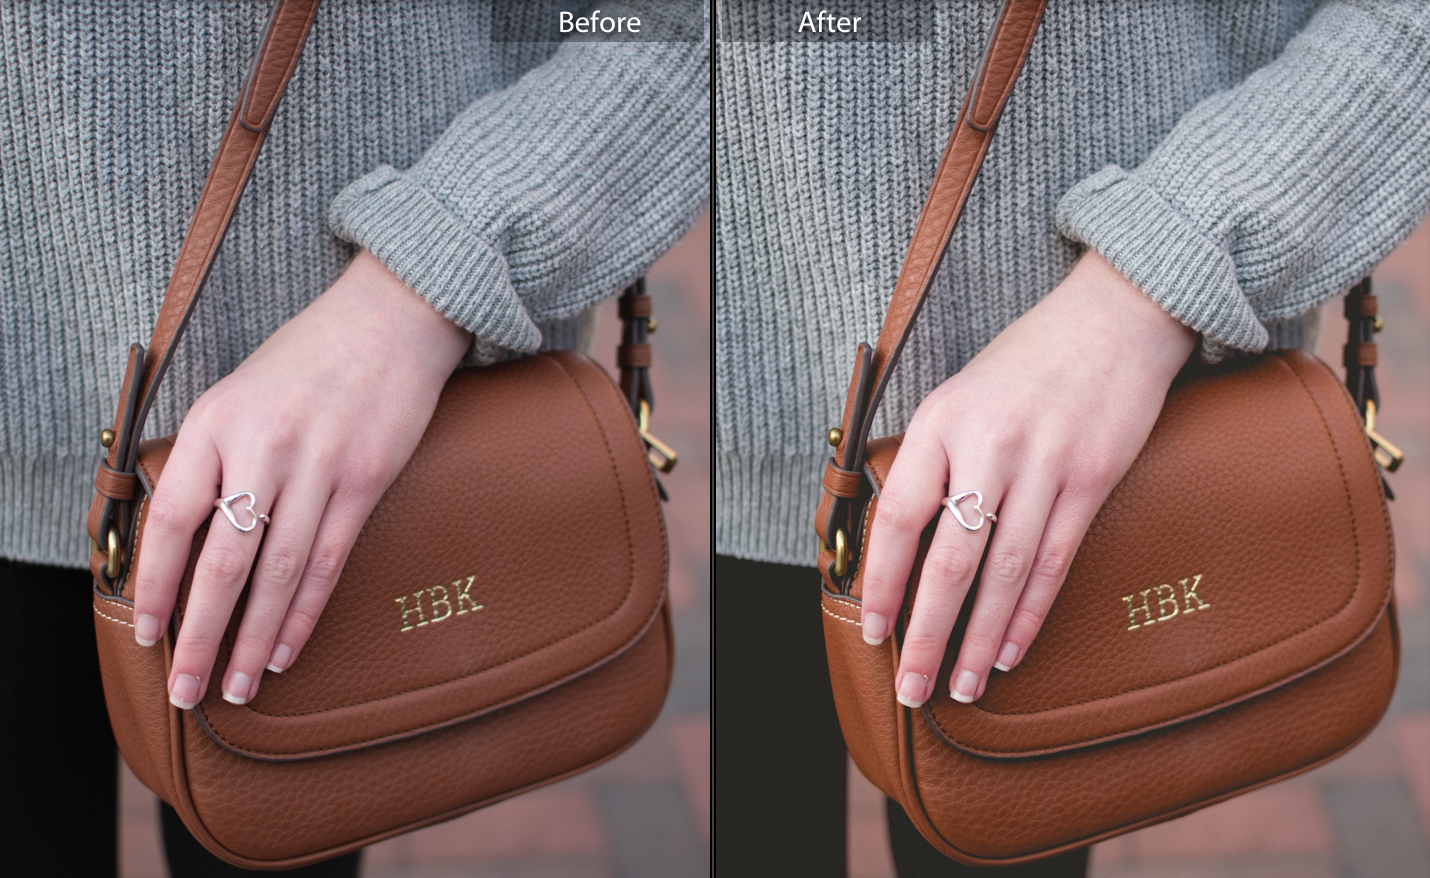
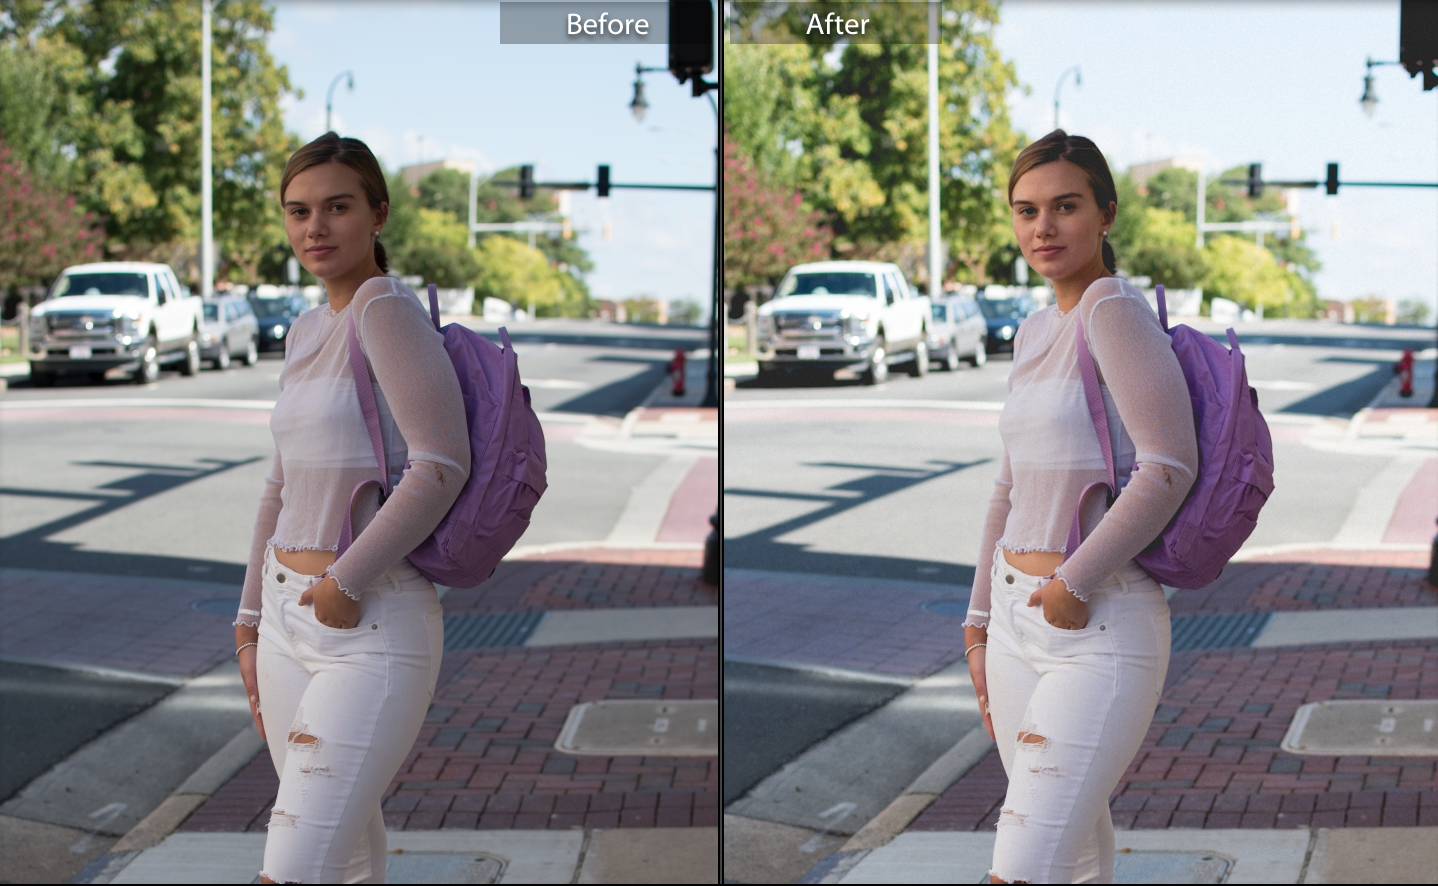
Preset 2
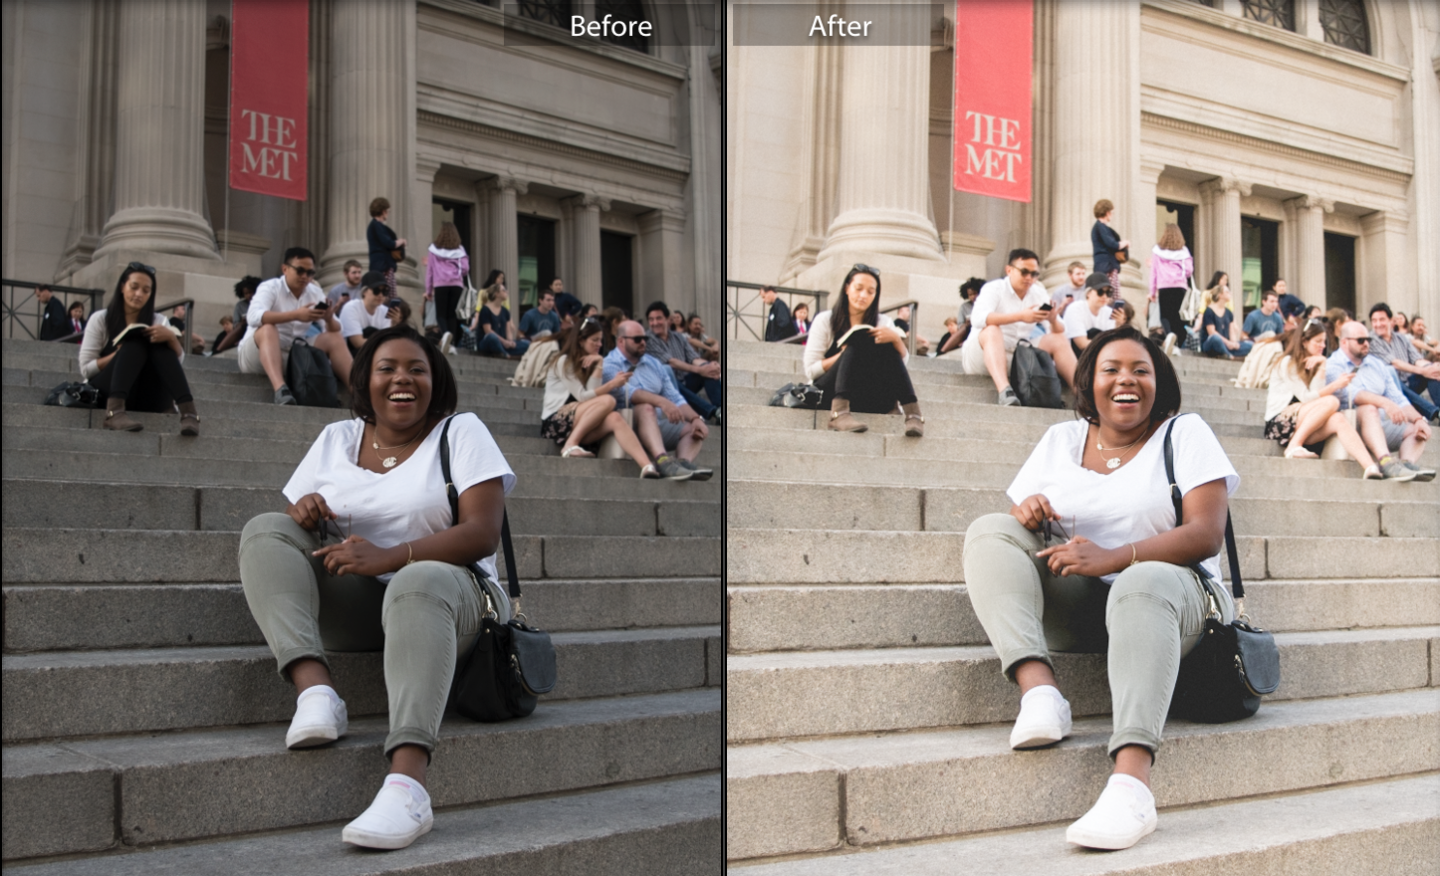
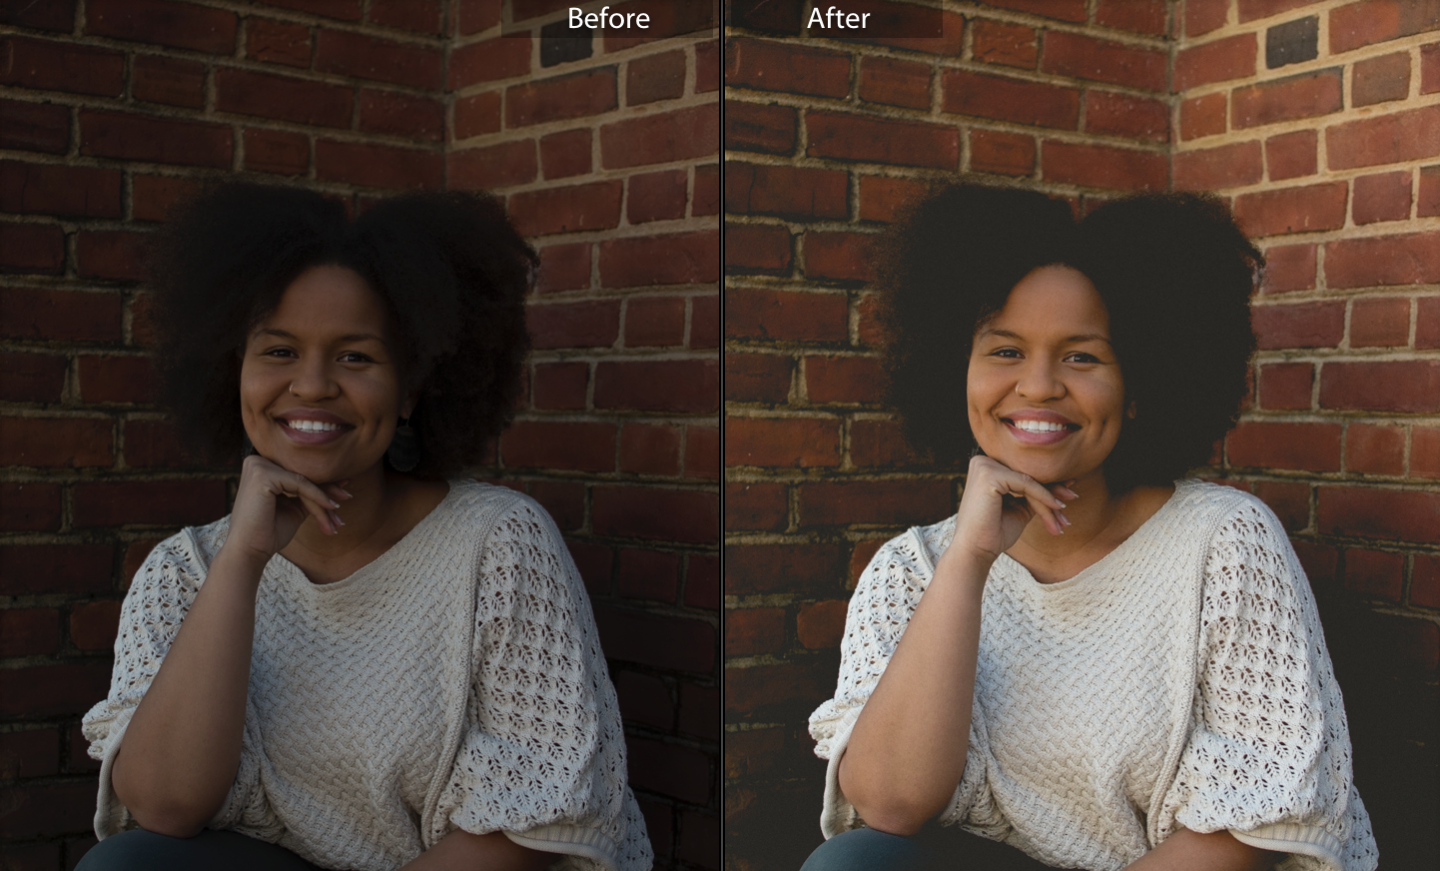
Black and White 1
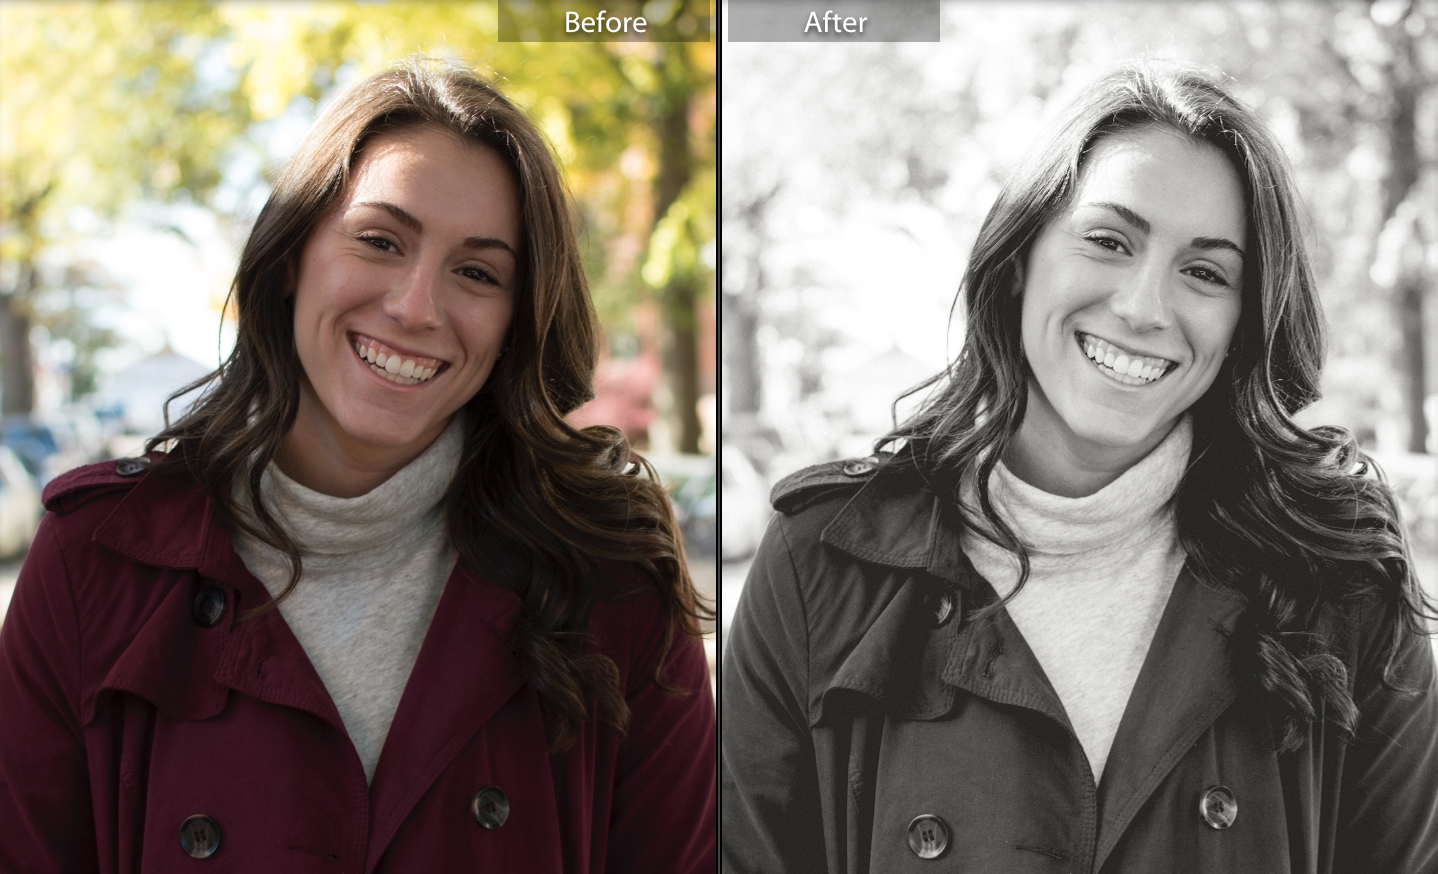
Black and White 2
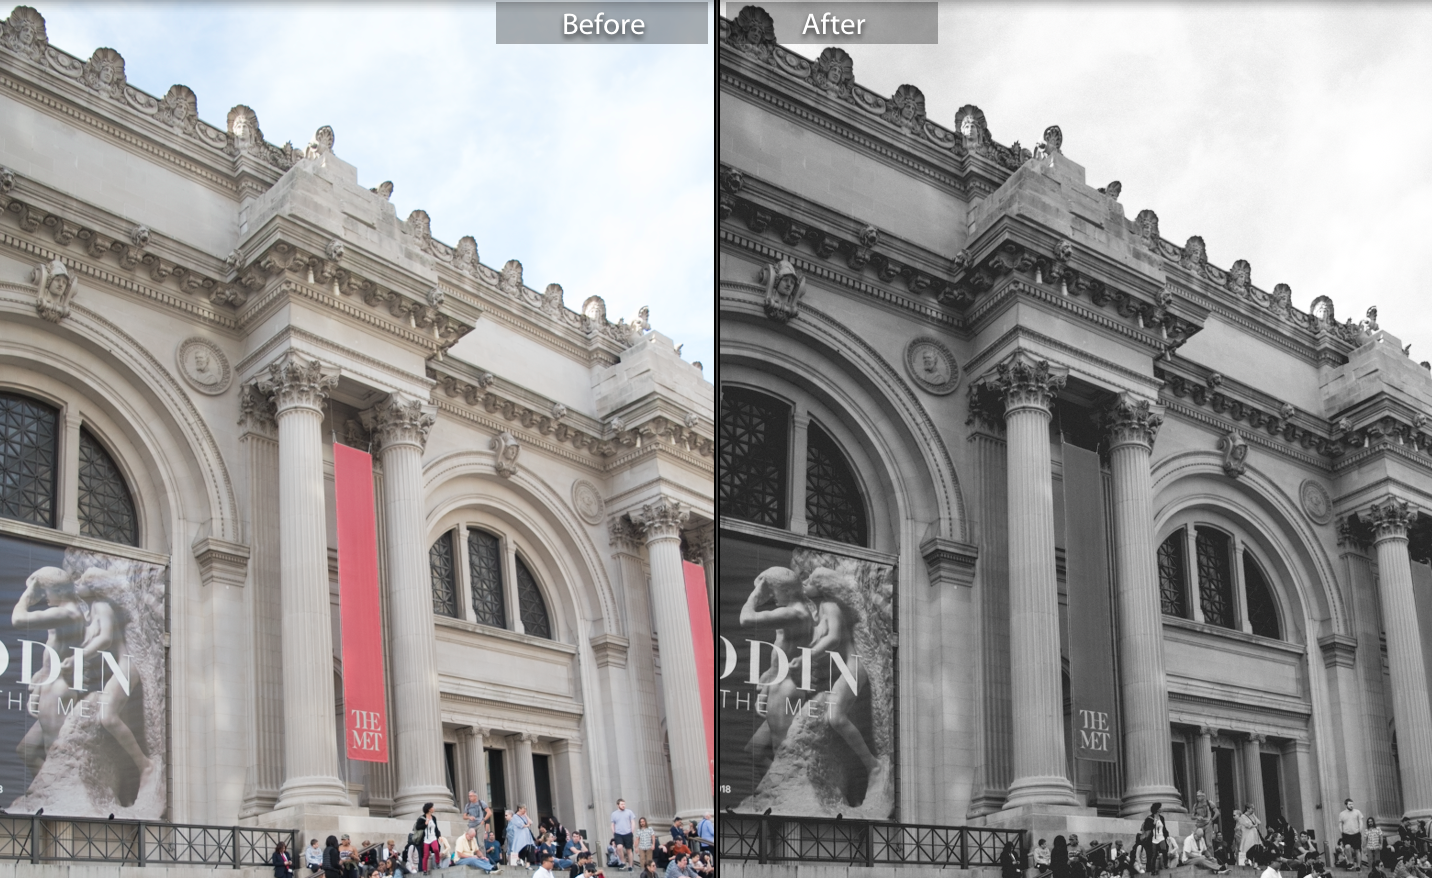
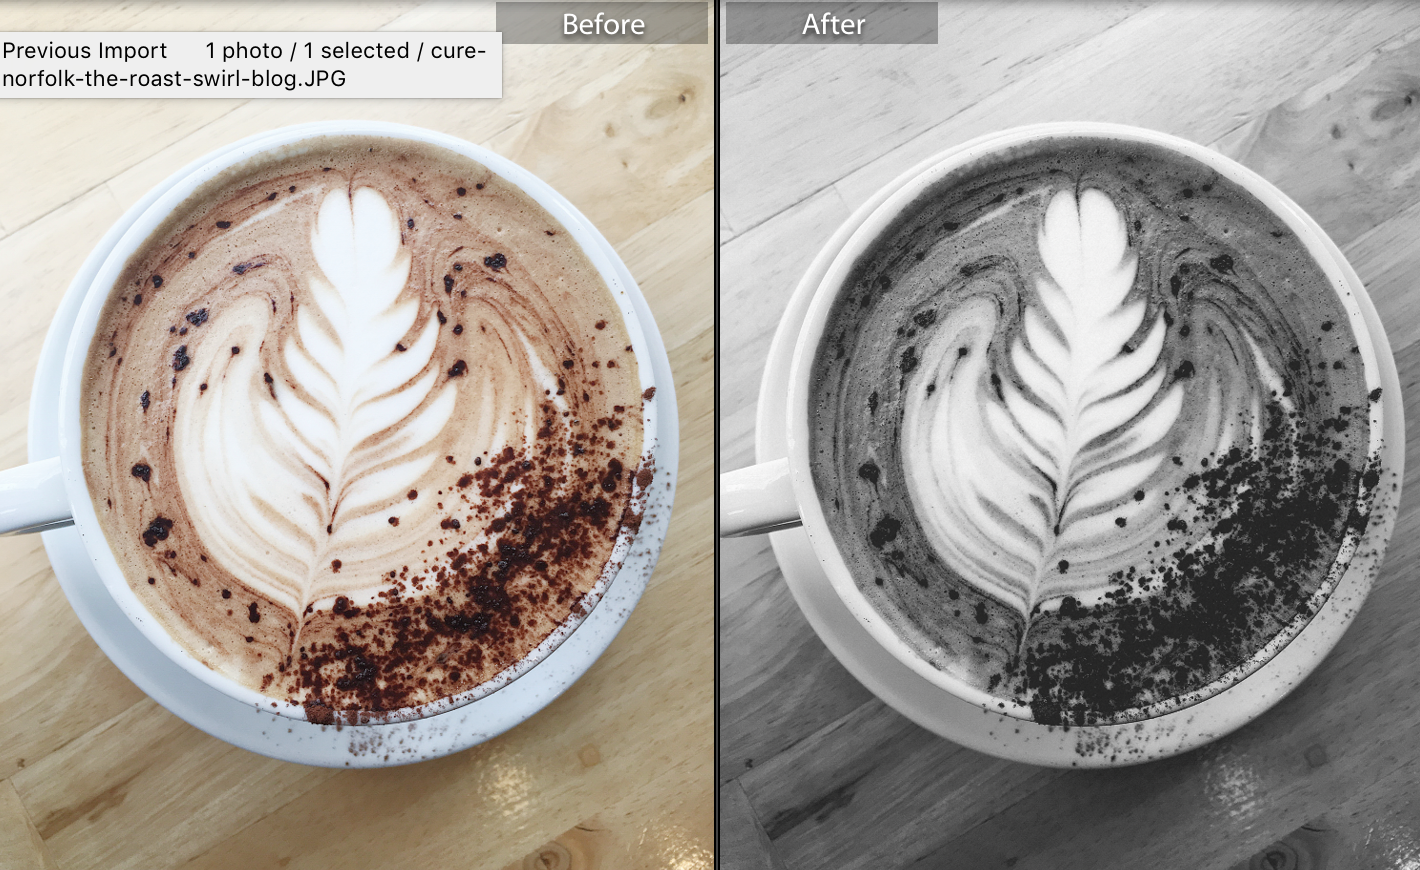
I hope this blog post was helpful! If you need some assistance or need a blog post that goes through more of the logistics of using Lightroom, you can check out my old blog post here. All of the images that appear on my blog posts are taken on my Nikon D5500 or iPhone 6S and then edited by me in Lightroom using presets I’ve made.
Thanks for reading! Have you found any free presets from bloggers and/or photographers that you like? Let me know in the comments so I can check them out!
keep on keepin’ on,

