This post contains a few affiliate links. This won’t change the price of the products; we’ll just make a few dollars from your purchase! Thanks for supporting The Swirl Blog.

When you walk into your dorm room for the first time, it may seem slightly underwhelming. Even after you’ve stuffed it with all of your dorm supplies, the cinderblock walls can still leave you with an eery, unpersonalized feel. I was not feeling it, so I filled my walls with some super cute dorm decor! Now, room decorations can get extremely pricey, but you can save some money and have some awesome decorations for your dorm if you DIY. All of these projects cost $15 dollars or less which makes them affordable and great going-away-to-college gifts!
Check back on the blog the rest of this week for in depth how to’s of some of my favorite dorm decor! Today, I’m taking you through the steps to make my most recent dorm DIY attempt, The Framed Photo Display!
Framed Instagram Photo Display
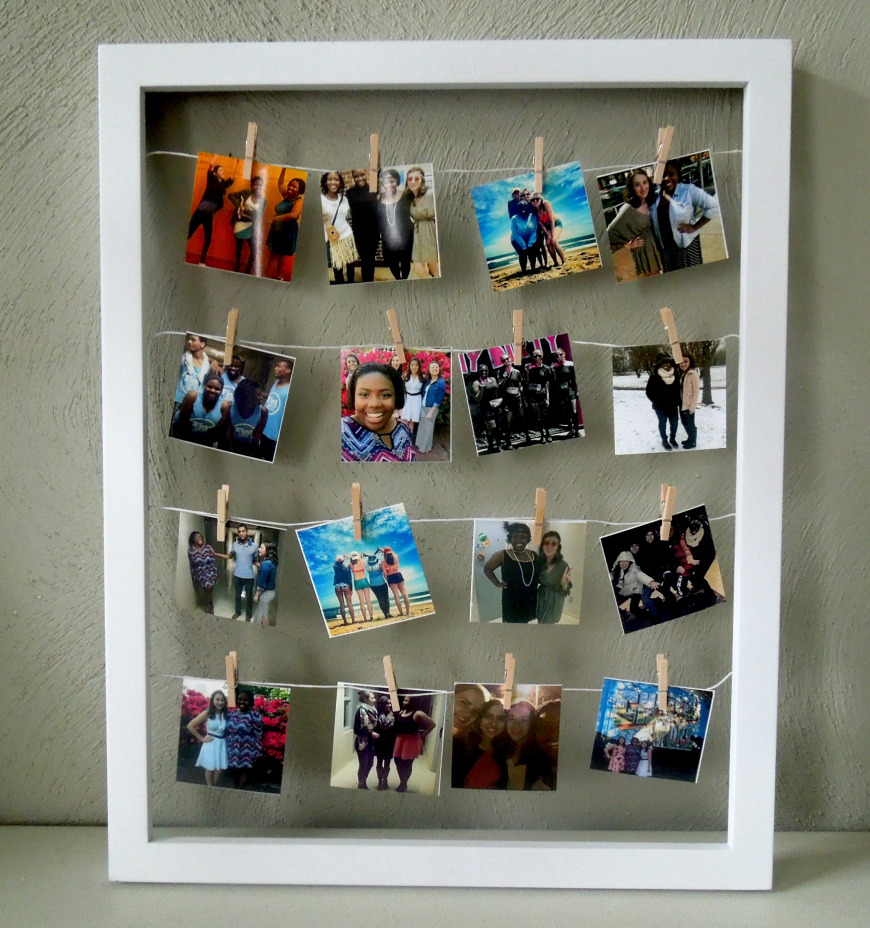
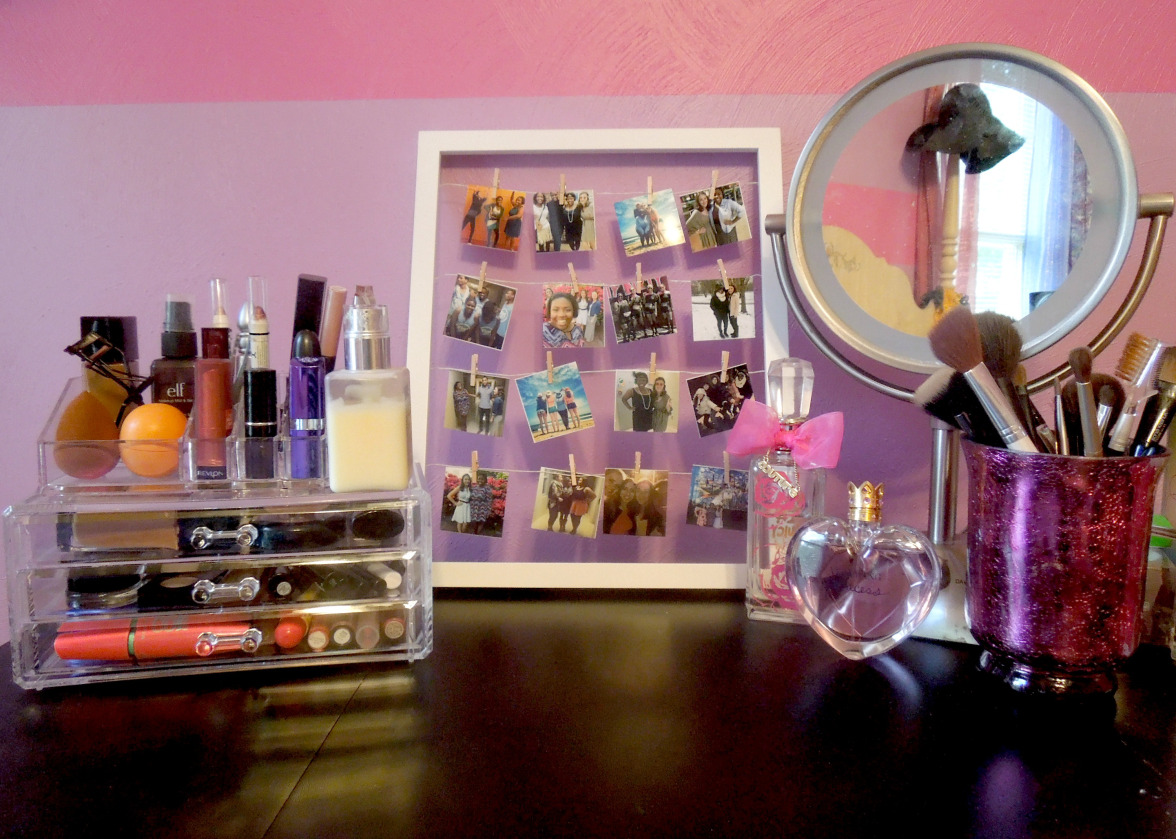
This is definitely one of my favorite dorm decoration ideas. It gives all of my favorite #nofilter photos a classic way to be displayed. Now, I didn’t have this specific craft in my dorm room, but I made it for one of my friend’s birthdays recently and I loved the way it turned out! This is a super easy craft that anyone can make and takes less than 2 hours. Also, you can interchange the photos as many times as you like when you have new pictures or to simply change it up!


Materials
- 1 wooden frame (Target)
- 1 bag of mini clothespins (Walmart)
- white floral wire (Walmart)
- Hot glue gun and glue sticks (craft store)
- Square photo prints (Walgreens)
*Note: I used a white (8.5 x11) white frame from Target for $12.99, sometimes you can find these in clearance for much cheaper! You can order square prints from Walmart that are 4×4, but you can also simply have 4×6 prints made and cut them down to 4×4 or 2×2(smaller size allows you to display more photos). I made my 2×2 prints using the PicStitch app on my phone.
Directions
- Remove the glass and cardboard so that you’re only working with the wooden frame. You’ll need to cut four pieces of floral wire that cover the width of the frame.
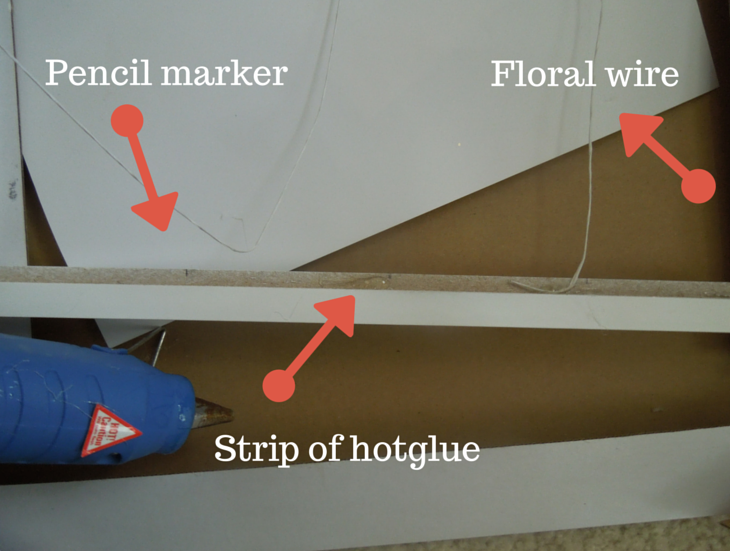
- Measure the distance that you want between each row of photos, since I used 2×2 photos, I left about half an inch from the top of the frame and an inch between each row. I marked these with a pencil on the back of the frame. This gave me enough room to make 4 rows.
- Secure one end of the floral wire with hot glue. This does not need to be extremely neat because you won’t be able to see it when it’s on display. Repeat on other side. Make sure the floral wire is pulled taut. *I found that it was easiest to bend the floral wire, and place a strip of hot glue along the part of the frame you’ll place the excess wire.*
- After you’ve completed all four rows and let the hot glue harden and dry, you’re ready to place the photos on the wire with mini clothespins. I could fit 4 photos on each row!
Dorm Decor is my favorite and hopefully you enjoyed this tutorial! Have questions? Feel free to ask! I’d love to help you out. Check back the rest of this week for more fun dorm decor! Follow us on Instagram @theswirlblog for more updates and super cute pics.


