This post contains a few affiliate links. This won’t change the price of the products; we’ll just make a few dollars from your purchase! Thanks for supporting The Swirl Blog.

Graduation is a true WOW moment. Every graduate has sat around their classmates and recalled all the football games, final exams, and school dances. Now, they are forced to look to the future into the great abyss that is the rest of their lives. As a recent high school graduate and college first year, I have knowledge that is in high demand from high school seniors that are going off to college. The fact of the matter is: grads want to use the cash they receive as spending money; but a lot of it will end up going towards gearing up for their college dorm rooms. You, the best gift giver ever, can help some of that cash stay in their pockets for a little while longer. This DIY is a cute and practical way to prepare the grad in your life for their next adventure. S/O to Ms. Lori for making me one of these last year! I use everything you gave me! 🙂 To learn how I made this super awesome grad gift, keep reading!


STEP 1: What to Give
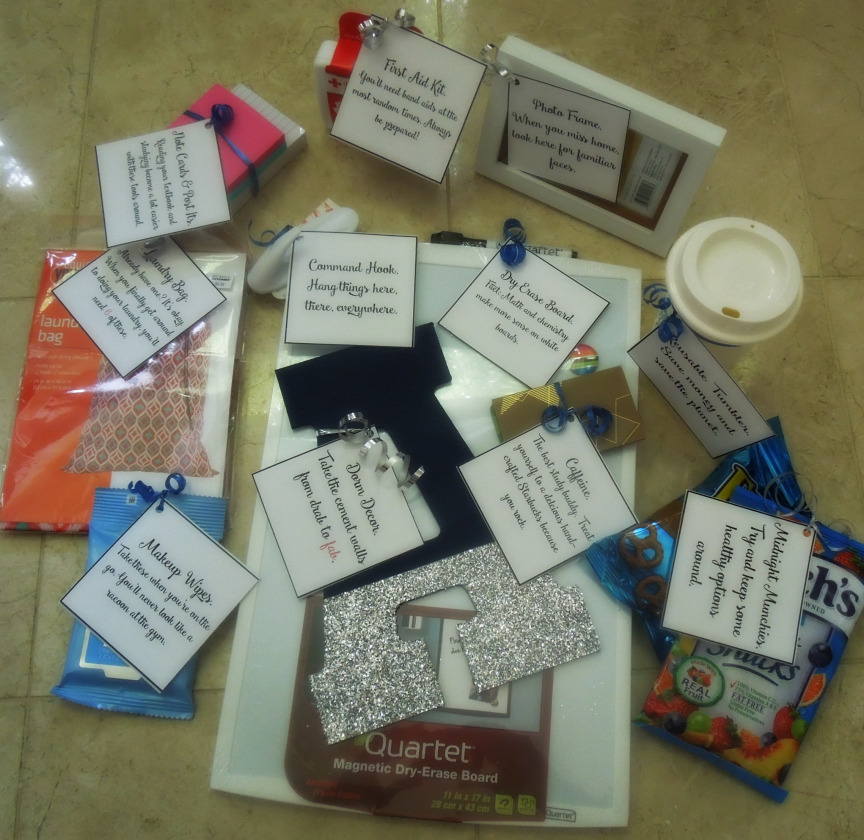
The fun thing about this gift project is that it can be tailored to fit the uniqueness of each grad in your life, and you can make it as large as you would like. I had ~12 items for my gifts and I was really happy with the size. I also stayed in my price range of around $25-$30 per gift .
WHAT I GAVE:
- “Glitter Dipped” Wooden Letter
- Command Hook
- Starbucks Gift Card
- Fruit Snacks/ Chocolate Covered Pretzels
- Mini First Aid Kit
- Headphones
- Photo Frame
- Makeup Wipes
- Cute Laundry Bag
- Dry Erase Board
- Post It Notes and Index Cards
- Storage Box
- Reusable Starbucks Tumbler
I had a hard time narrowing down my list to 13! My initial list also included: Target gift cards, batteries, extension cords, a planner, flip flops, hand soap/sanitizer, and a wristlet. These can be switched out with some of the above or added to make it work for you!
Step 2: It’s all about the presentation.
My truly favorite part of this project are the clever tags that I attached to each item! I included a tip or reason why I use each thing in college on each tag! The text can’t be changed on the word document but they are relatively easy to make your own whether it’s handwritten or typed! I used a plethora of ribbon in their school colors/dorm color schemes to attach all the tags and assemble the entire gift! Also, I cushioned the items in the box with shredded paper bags! The gifts were a hit! If you try this out, comment below with a picture or post onto the Facebook page; I’d love to see how all of these turn out! Check out these pictures for a behind the scenes look at my construction of the gifts!


