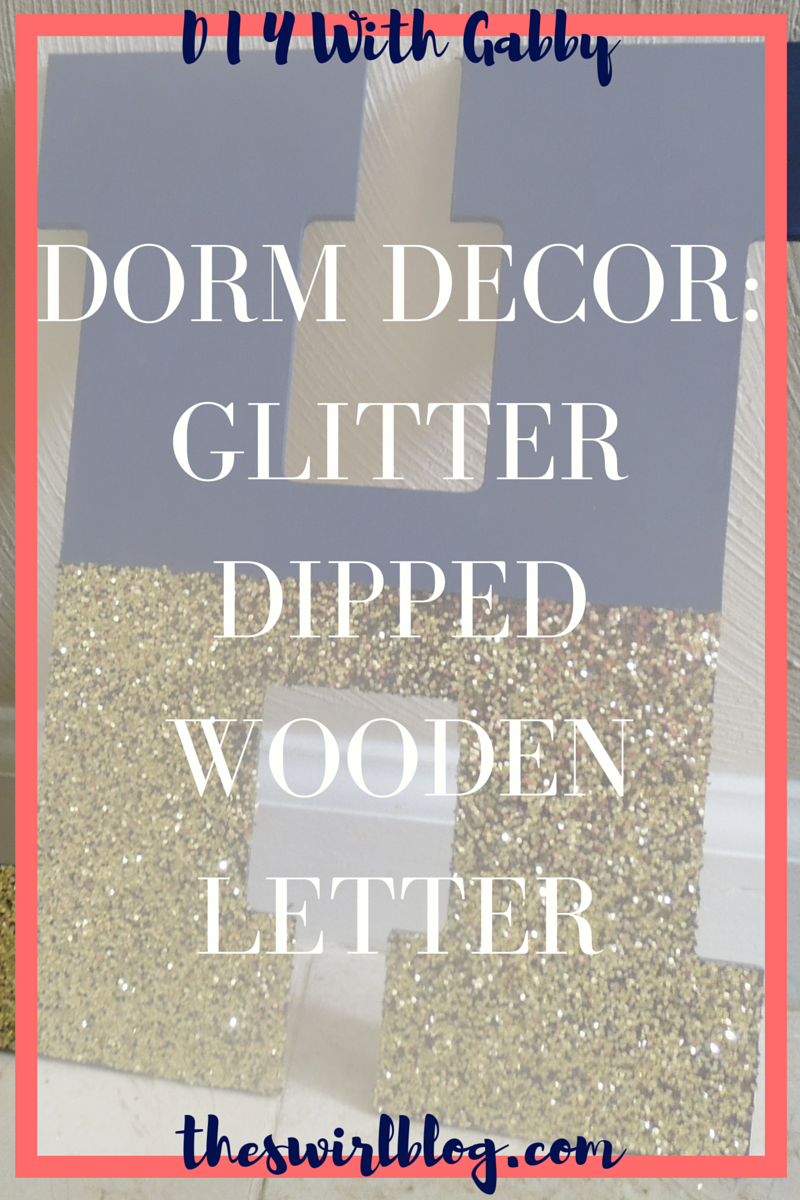
I’m back for the second day of the DIY Dorm Decor Week! Today, I’m taking you through how to make my go to gift, The Glitter Dipped Wooden Letter. I love this because it’s easy, relatively cheap ($5 y’all), and super customizable! It’s featured in my DIY What A Grad Needs For College Gift Basket and I think it turned out great! So, if you want to have a super easy personalized dorm decor piece to add to your collection, keep reading!
Materials
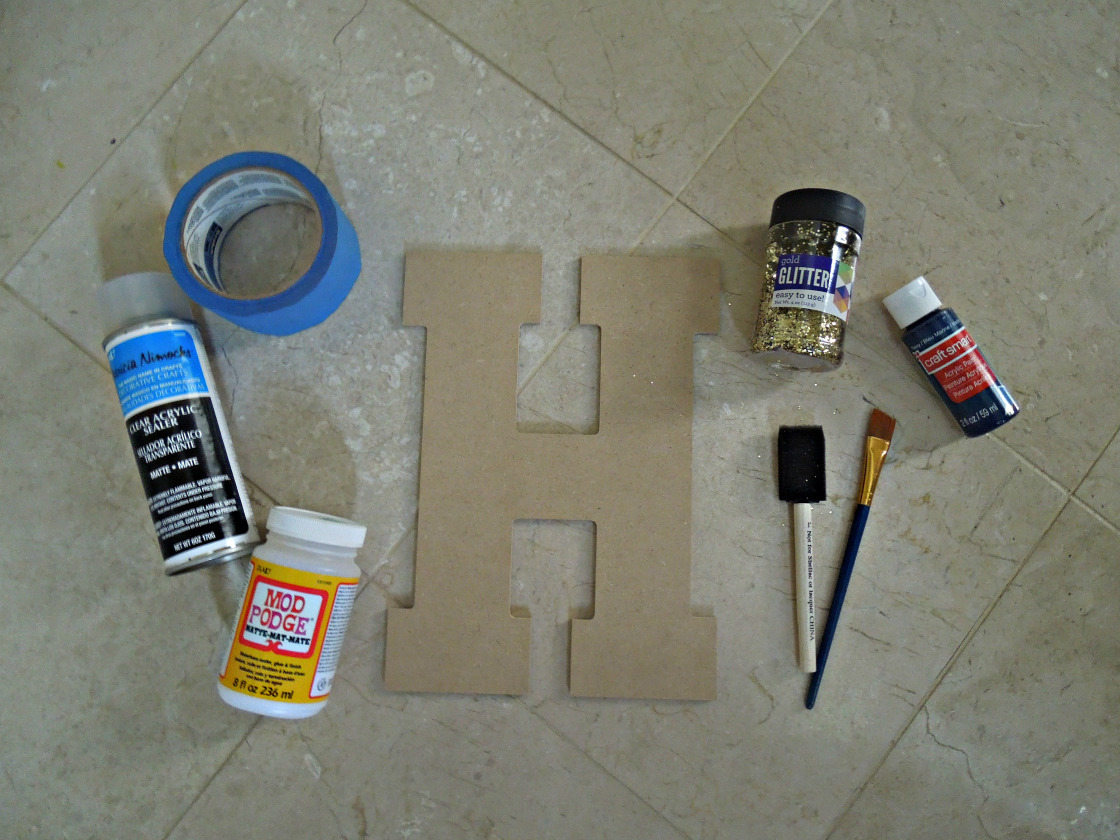

- 1 wooden letter (Michaels)
- 1 bottle of acrylic paint (Michaels)
- Glitter-color of your choice (Walmart)
- Modge Podge (Michaels) or Glue*
- Painter’s Tape
- Ruler
- Pen/Pencil
- Acrylic sealer (Walmart)
*Modge Podge is a little pricey, so you can use glue. It’s important that the glue dries clear!
Directions
1. Clear off an area on a table with newspaper/paper towel. Your mom is not gonna be happy if you get the acrylic paint on her dining room table! We have special crafting tables (#scrapbookmom), so I just used the top of a printer paper box which worked perfectly.
2. Next, you need to paint your wooden letter with two coats of the paint color of your choice (think college colors/dorm room color scheme)! *You might want to paint the sides/center of the letter first. It’s easier that way, and it looks weird if you leave the wood showing.*
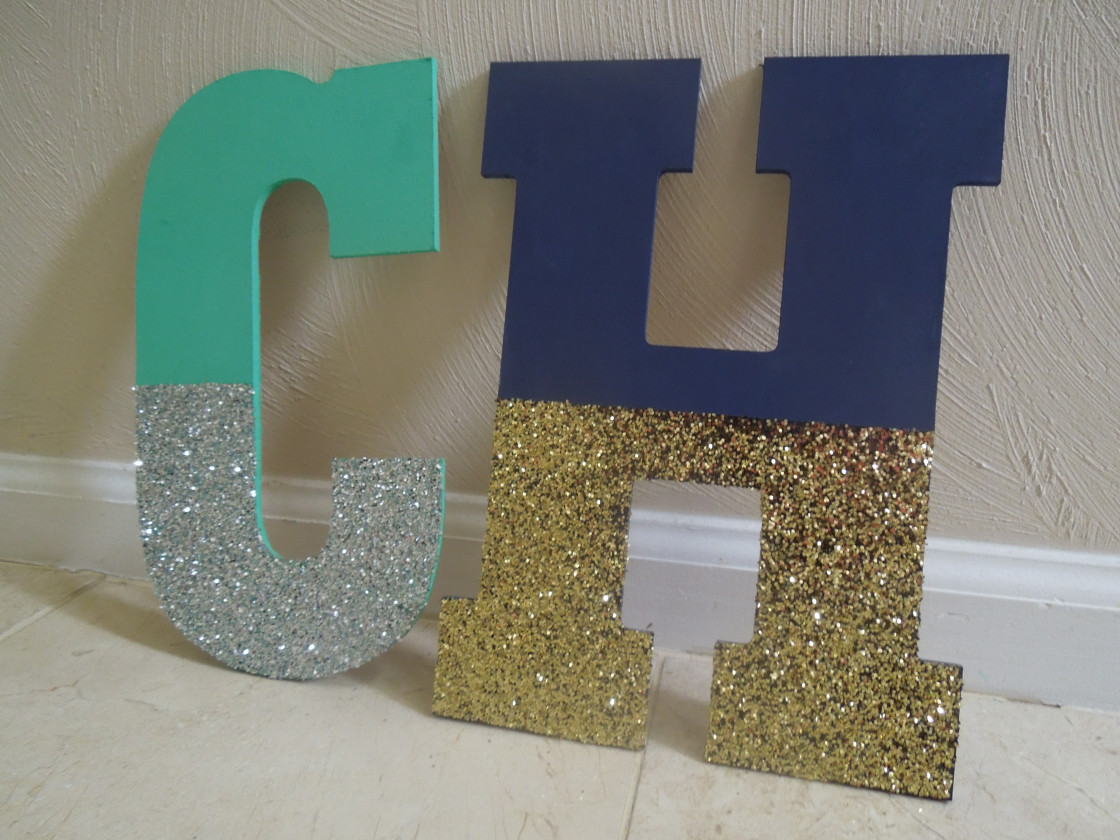
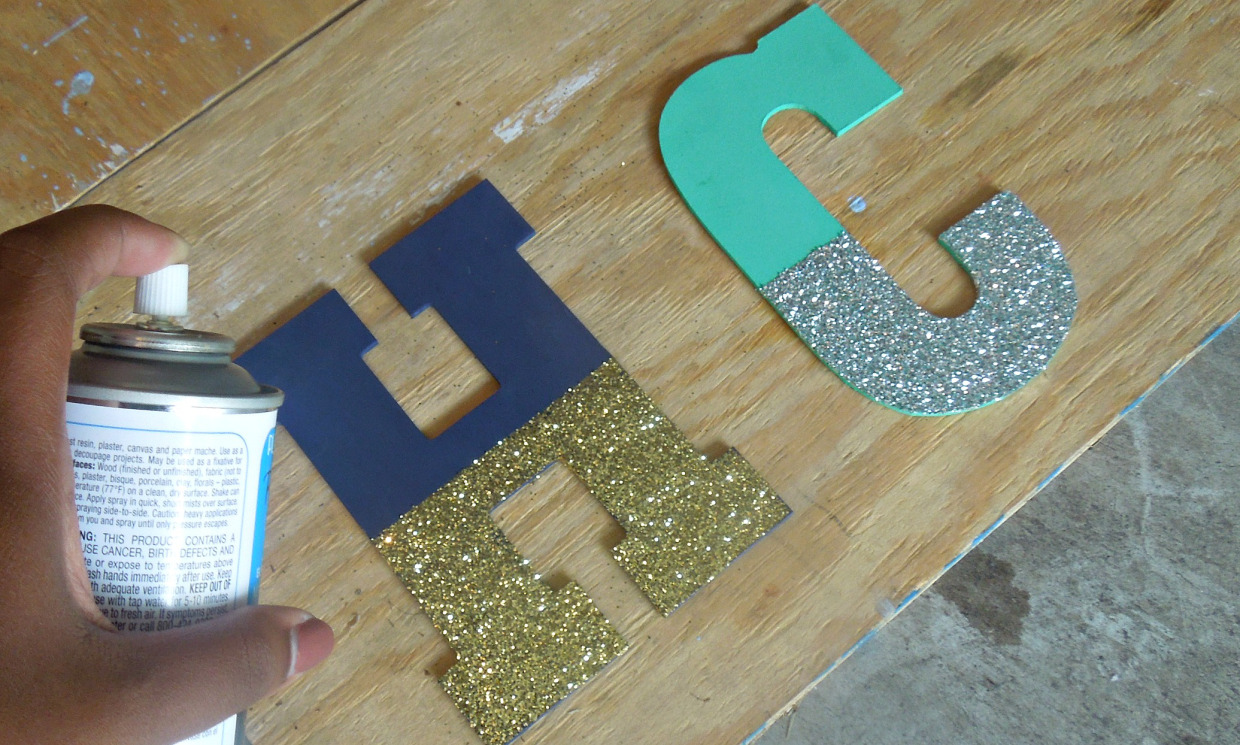
3. Let that dry, it doesn’t take long. Maybe 10-15 minutes. After that you need to figure out where you want the glitter to stop. On the H, I made a line more than halfway down the letter
. It’s really up to you. I recommend not going over half the letter. Aim for 1/4-1/3 of the letter to be “glittered”. I used a ruler to draw a line and then placed a strip of painter’s tape above the line(so that it would be covered in glitter)!
4. Smother the desired “glittered” area with some modge podge or glue, and immediately sprinkle the area with glitter. Let sit for 3-5 minutes for the glue to harden a little bit! Shake off the excess glitter, but let the letter sit for a bit longer before taking off the painter’s tape. I waited an hour or two just to make sure the glue didn’t run. You want the line to be crisp and clean for the best results!
5. After you remove the painter’s tape, you’re gonna be obsessed with your work! You will see that some of the glitter will come off periodically which can get super annoying especially when it gets all over your carpet. So, I sprayed my letters with acrylic sealer–in my garage–to keep the glitter down.
I made this last year for my dorm, but I covered the entire letter with glitter which is also a really cute option. I hung it up with command photo frame strips which worked perfectly and left no scratches on the wall (AKA no end-of-the-year fees).
Are you as obsessed with DIY and Dorm Decor as I am? Loving this series? Sound off in the comments. I love hearing from you!